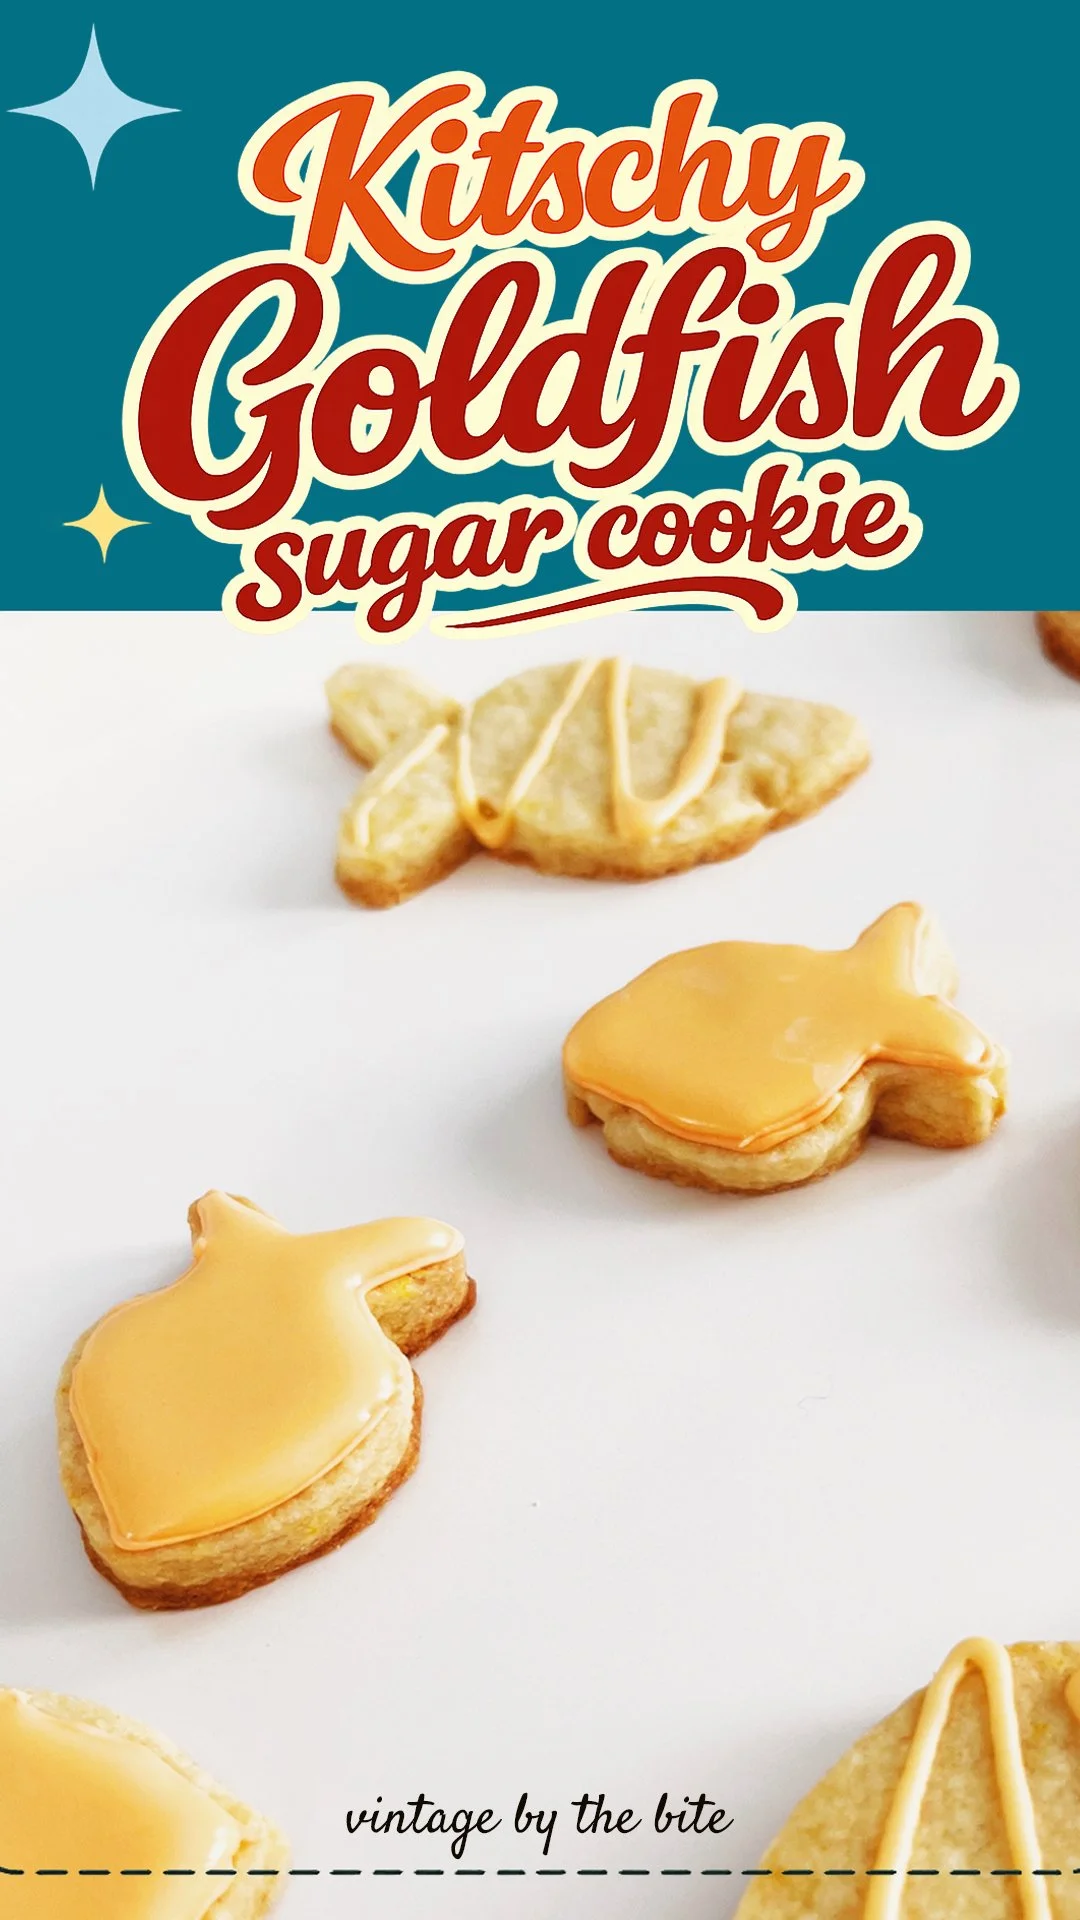
Kitschy Orange Sugar Cookies
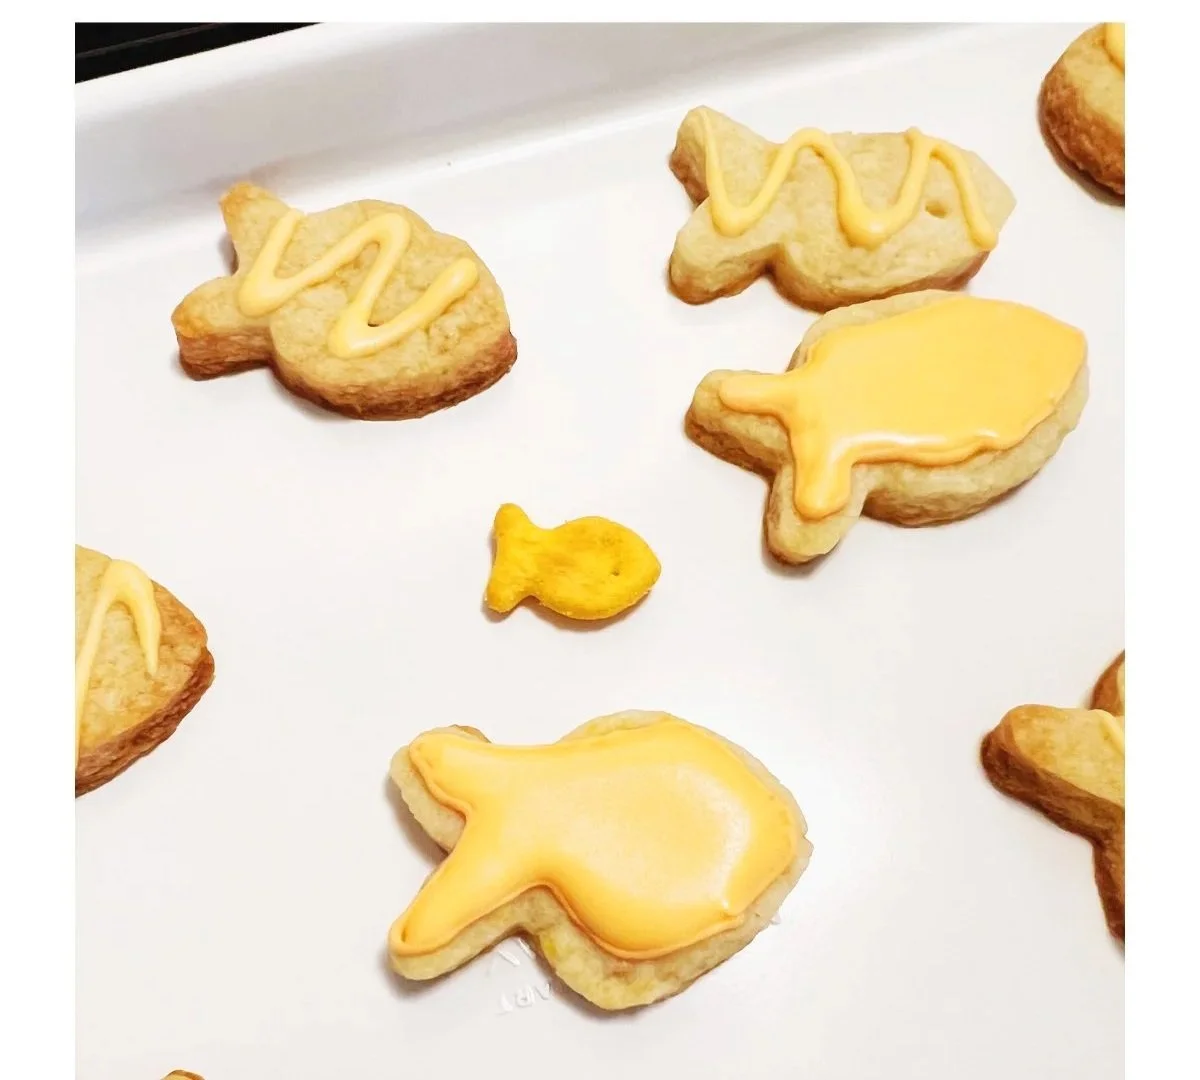
Goldfish Shaped Orange Sugar Cookies
Published: February 4, 2026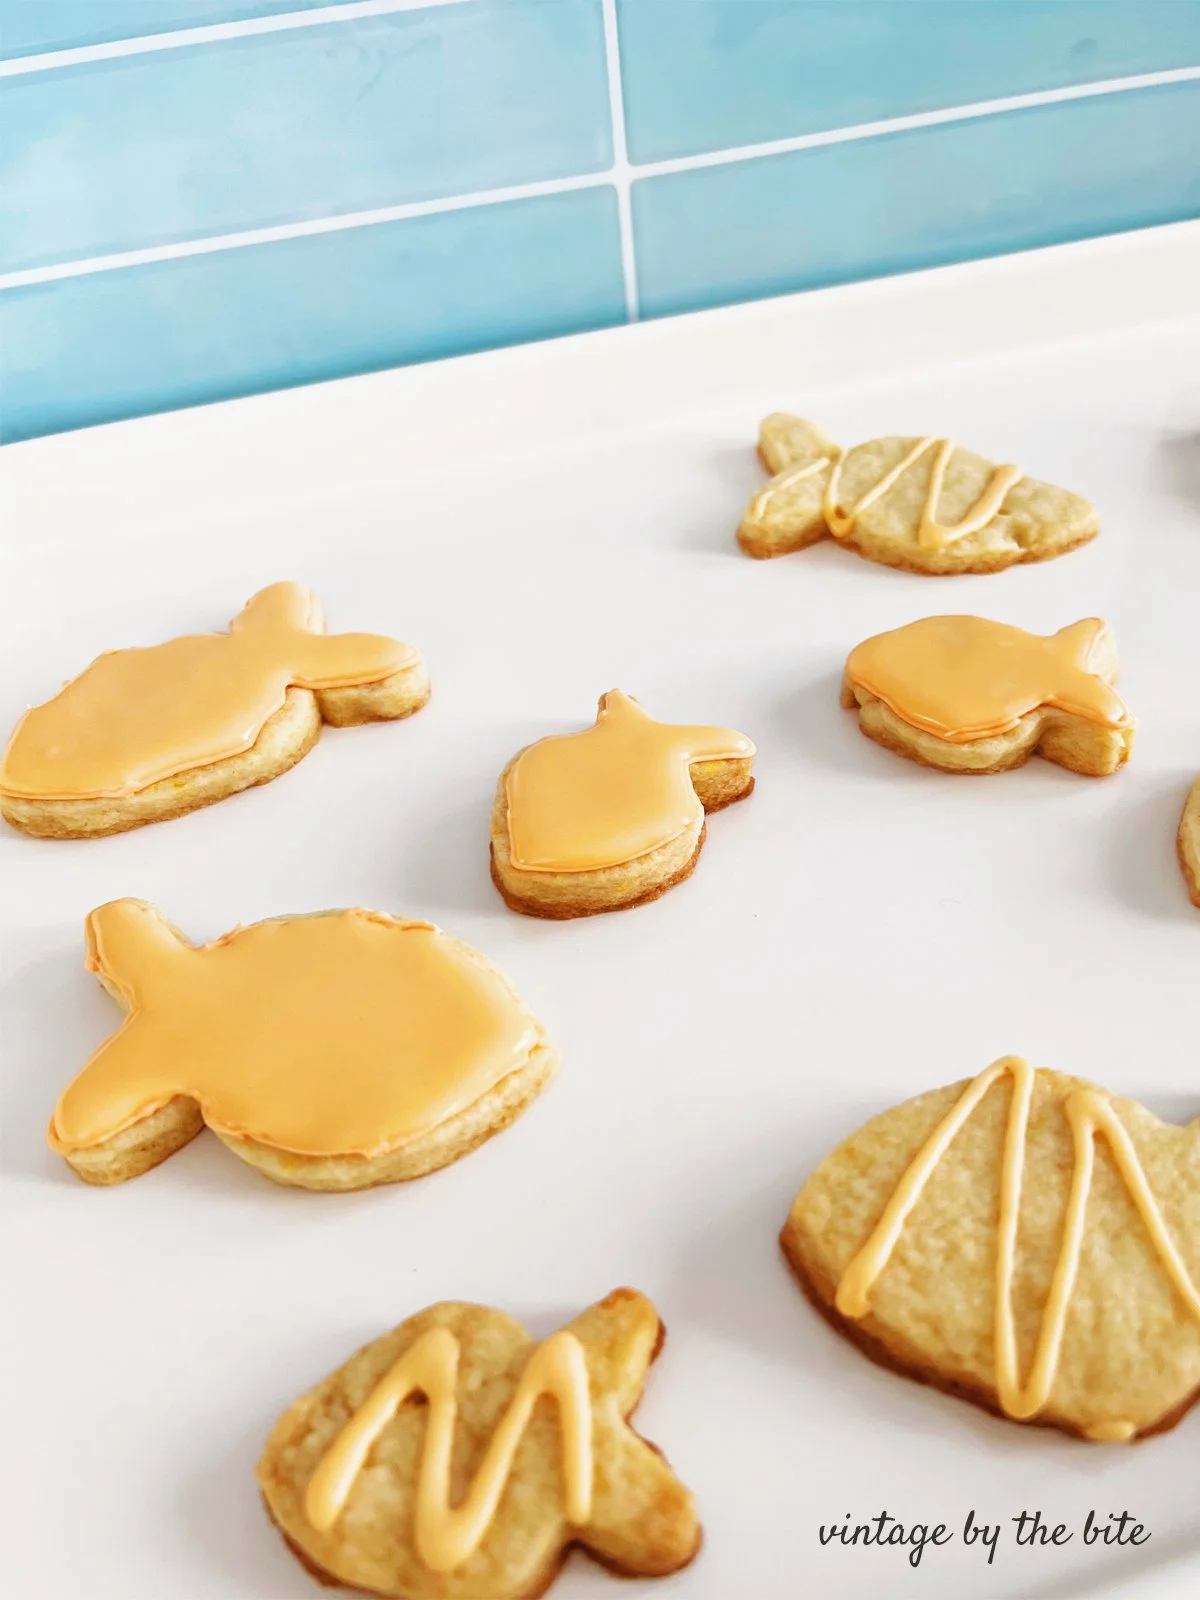
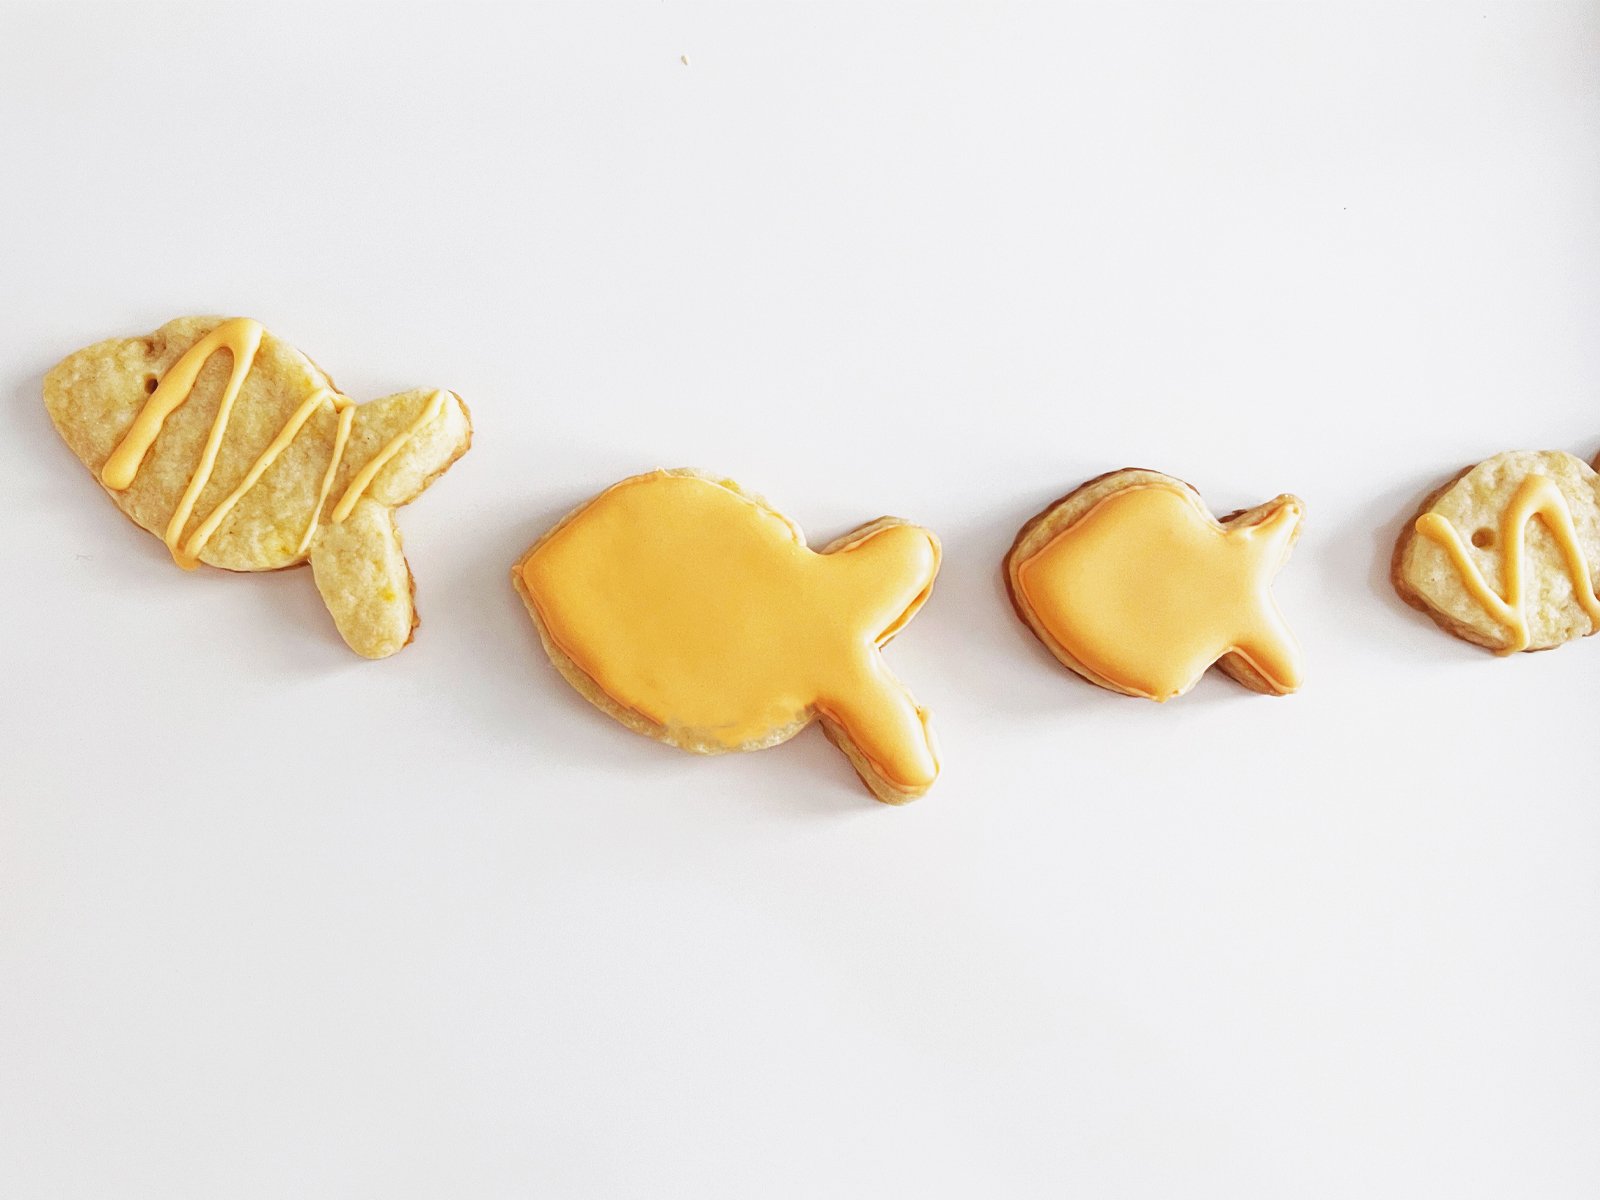
Looking for something different? These novelty goldfish shaped sugar cookies put a playful spin on a classic cut-out cookie, finished with a soft orange icing and made in a small batch perfect for sharing.
A nostalgic throwback to sugar cookies and goldfish crackers in this wonderful orange citrus cookie.
Baked thin to hold their shape and finished with a simple orange icing, they’re easy to make and just right for two people who want something sweet without turning on the mixer for a crowd.
This blog contains affiliate links, which support the free content on this blog. As an Amazon Associates affiliate, I earn from qualifying purchases.
Blog Index:
1. Recipe Testing Notes
2 🍴 A Retro Bite of History
4. Step by Step Instructions
5. Fun Vintage Serving Tips
6. Retro Shopping
7. Closing Words
Testing Notes
This dough works especially well with cookie cutters, holding its shape while baking and offering a subtle citrus flavor that doesn’t overwhelm. The dough went further than I expected, and the cookies are delicious on their own but if you’d like to frost them, there’s a royal icing recipe below.
🍴 A Retro Bite of History
Cut-Out Sugar Cookies in the Mid-Century Kitchen
By the mid-20th century, cut-out sugar cookies had become a familiar staple in American home baking, especially from the 1940s through the 1960s.
As home kitchens modernized and ingredients like white sugar, butter, and all-purpose flour became reliably available, sugar cookie doughs were refined to be easy to roll, dependable, and well-suited for cookie cutters.
Mid-century cookbooks and magazines often emphasized sugar cookies as a multi-purpose dough.
Recipes were designed to hold their shape during baking, making them ideal for novelty cutters, holiday shapes, and themed parties.
These cookies were intentionally mild in flavor, allowing bakers to add personality through citrus zest, simple glazes, sprinkles, or colored icing rather than heavy spices.
Today’s cut-out sugar cookies still reflect those mid-century values: simple ingredients, dependable dough, and just enough decoration to make them feel special.
Frequently asked questions
Will the cookies spread while baking?
The cookies spread very little. When rolled thin and properly chilled, they maintain their original shape with only a slight, even rise.
Do I need to chill the dough?
Yes. Chilling the dough helps firm the butter and prevents spreading. For best results, chill the dough after mixing and again after cutting the shapes.
How thick should the dough be rolled?
Rolling the dough just under ⅛ inch thick works best. Thinner dough helps preserve details and keeps the cookies from becoming puffy.

Step by Step instructions
including original photography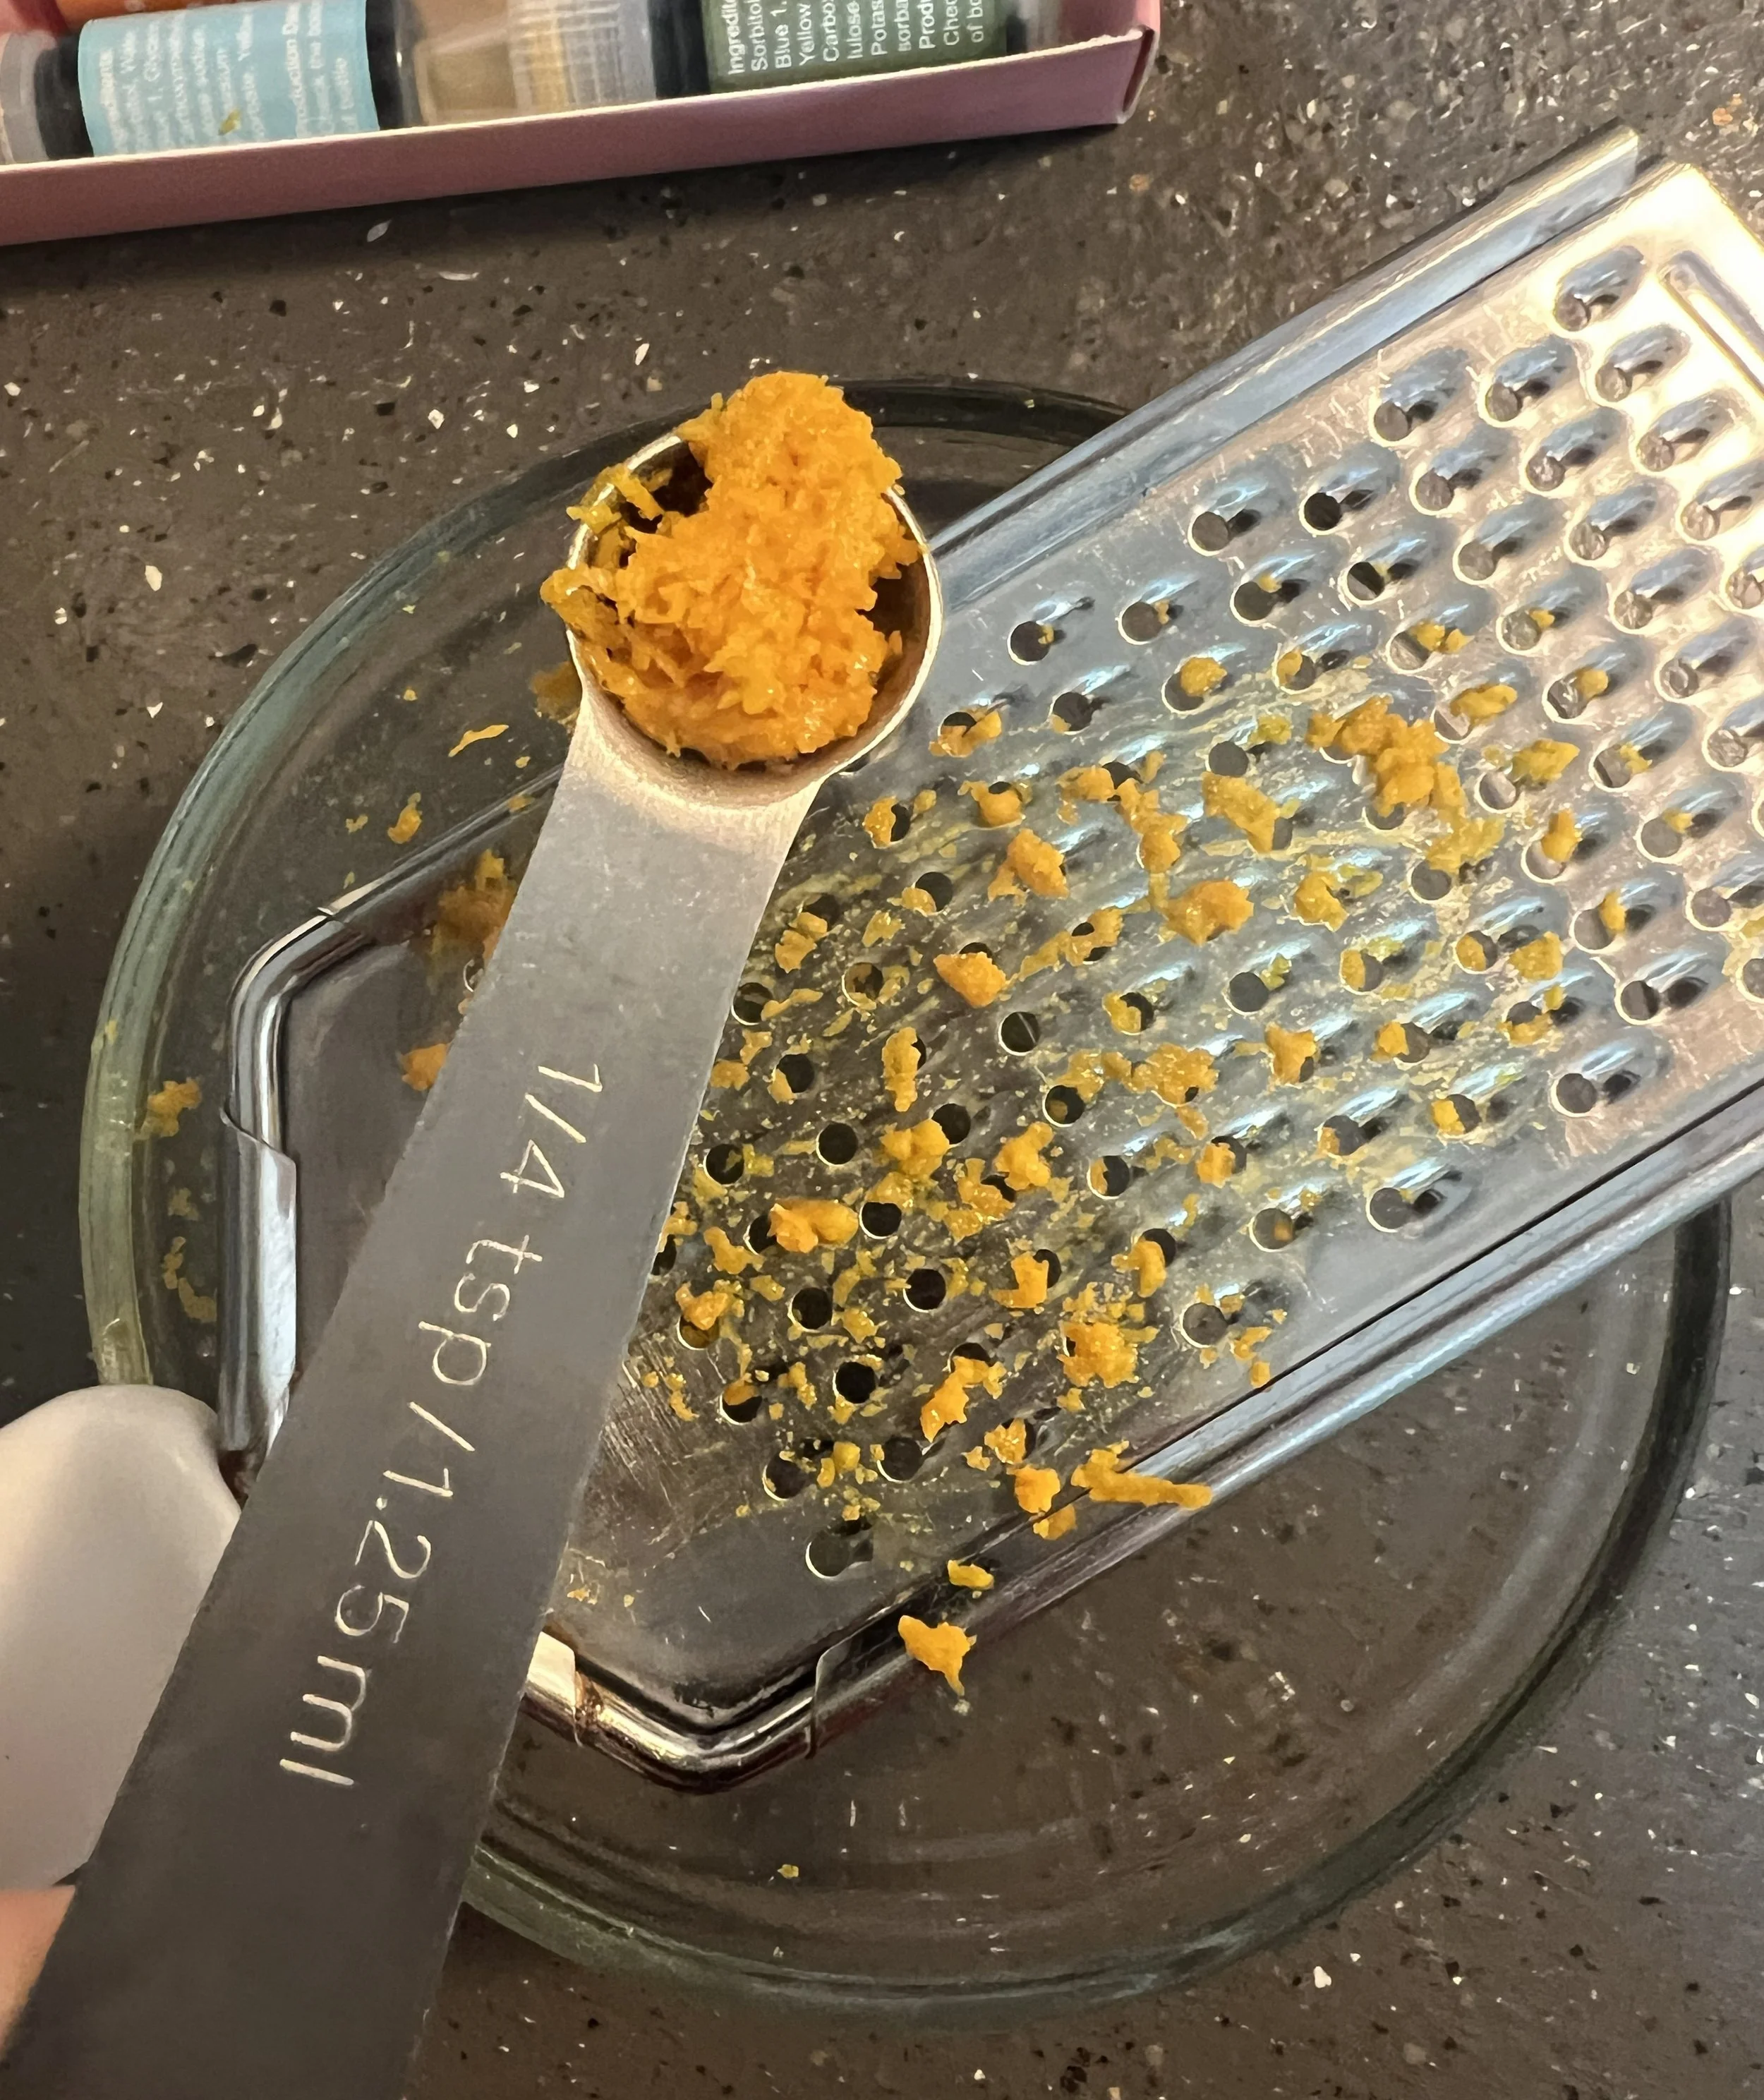
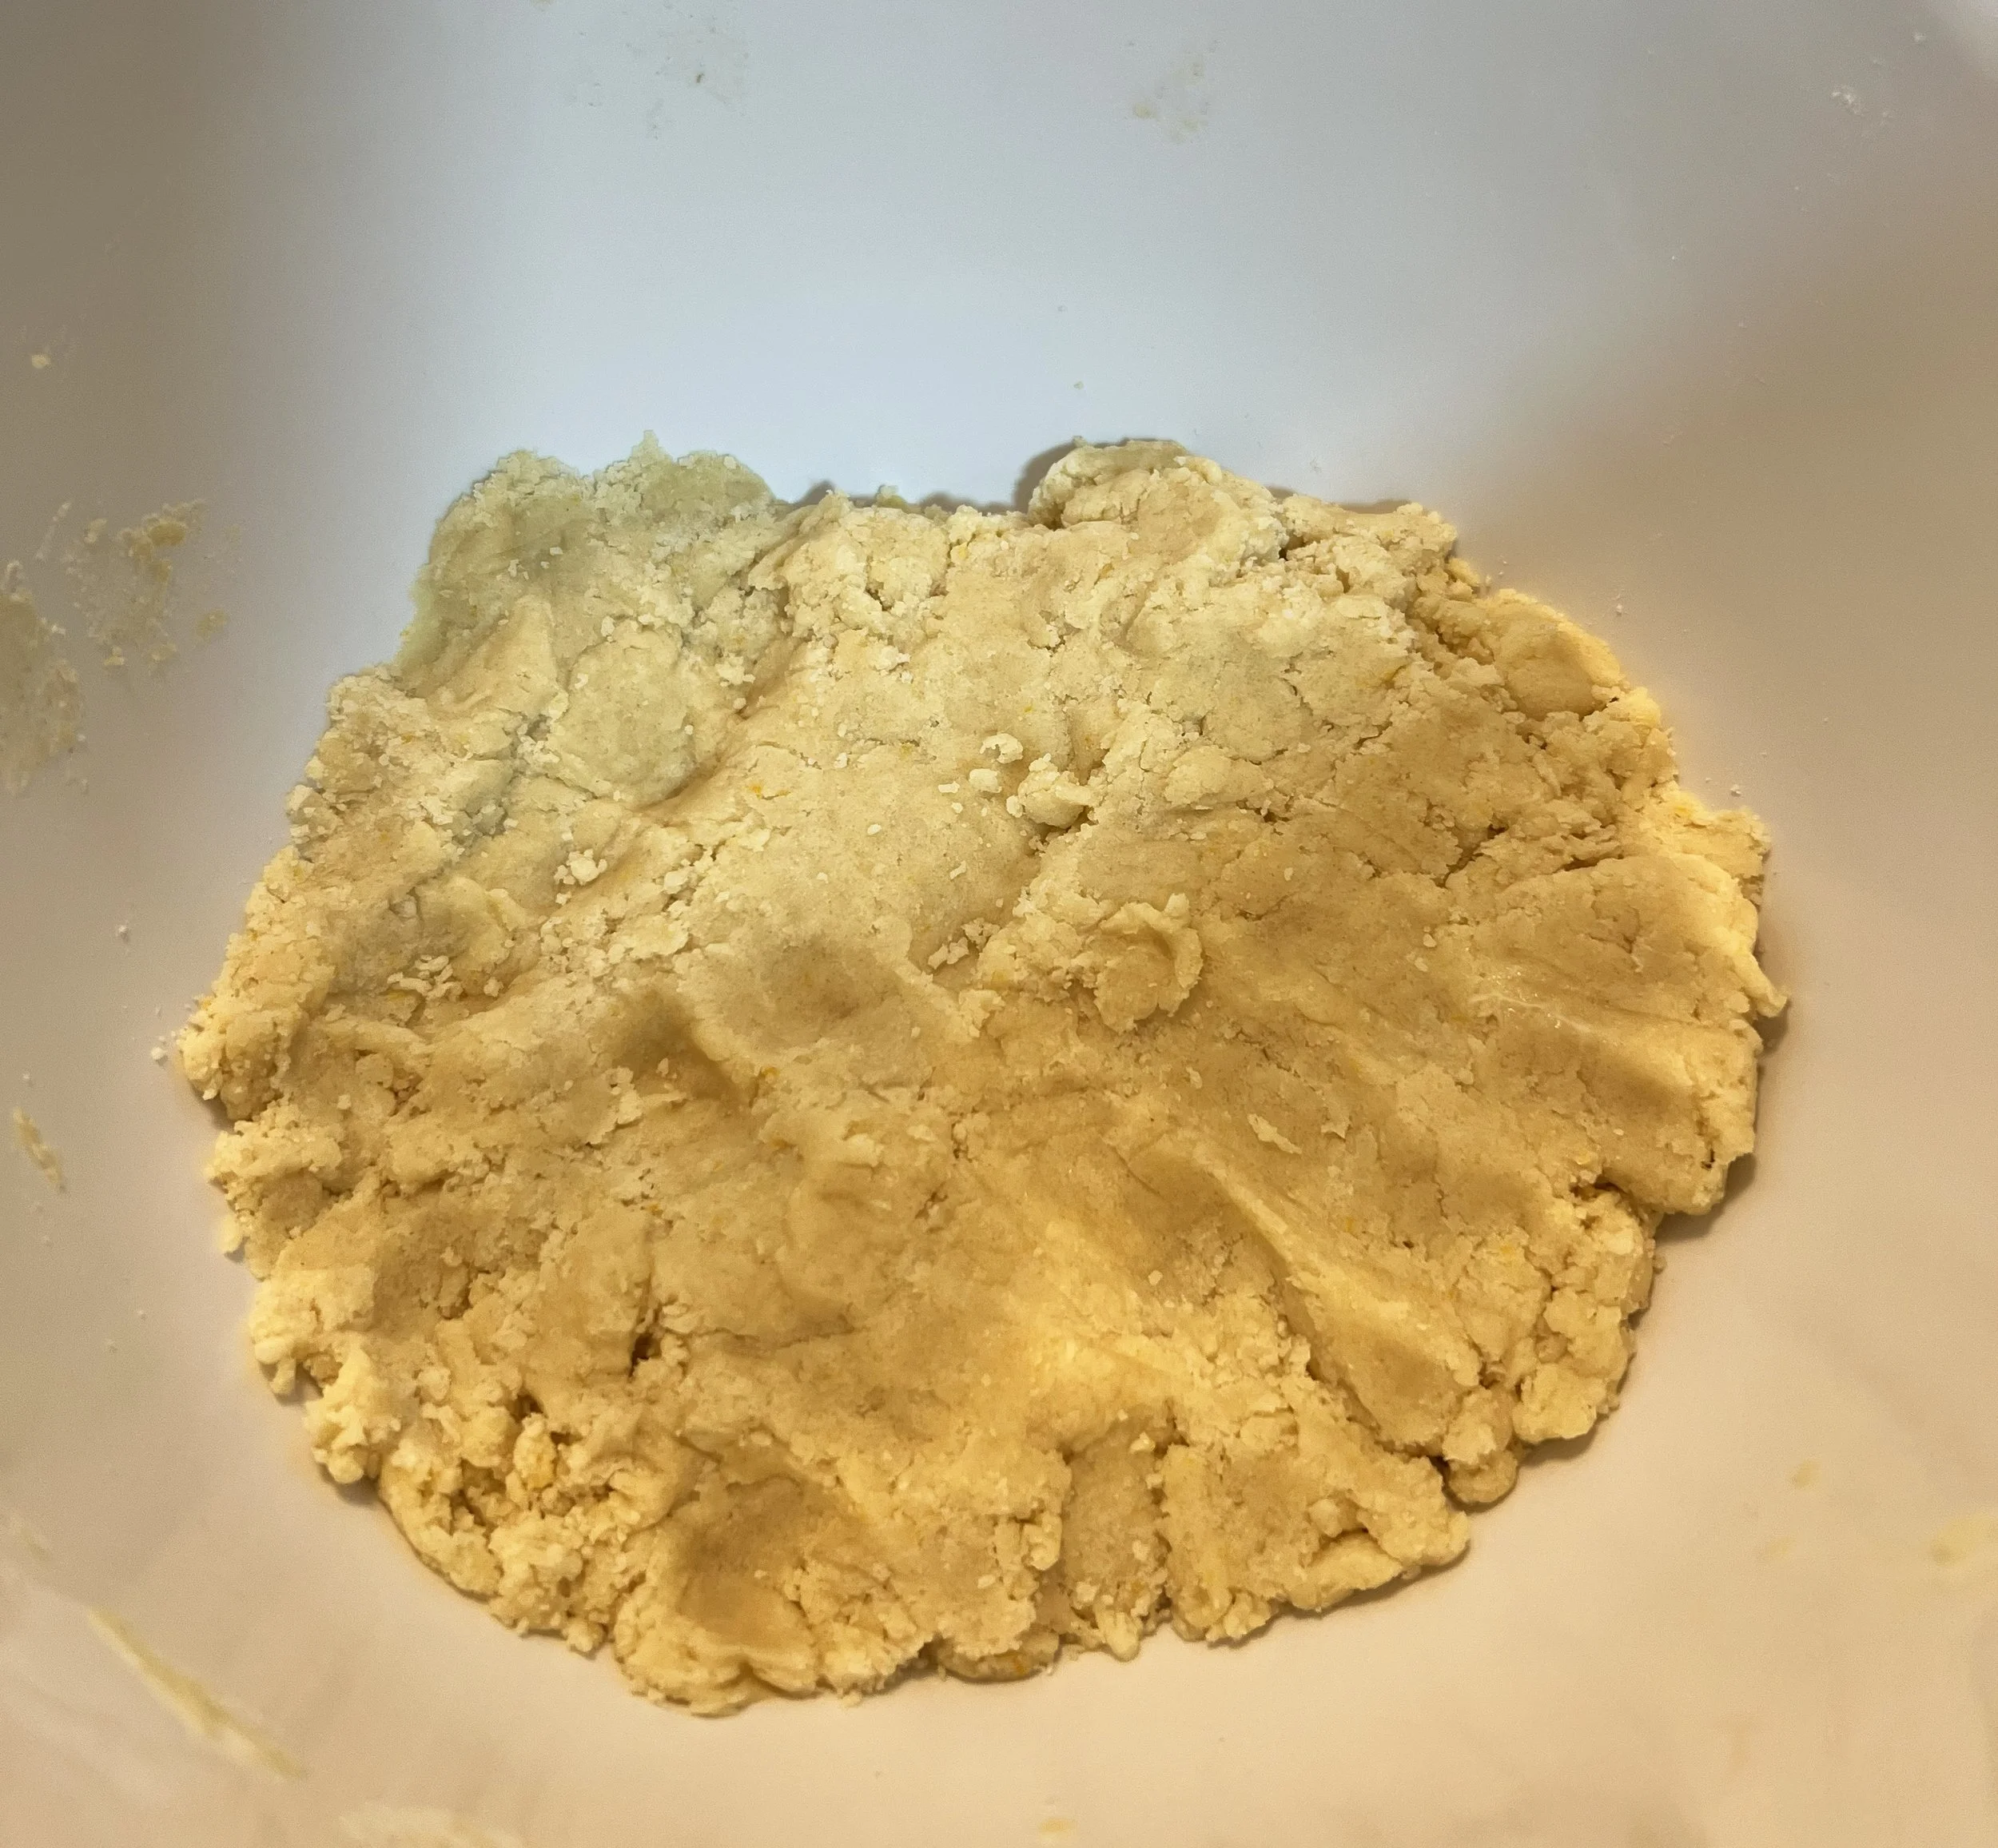
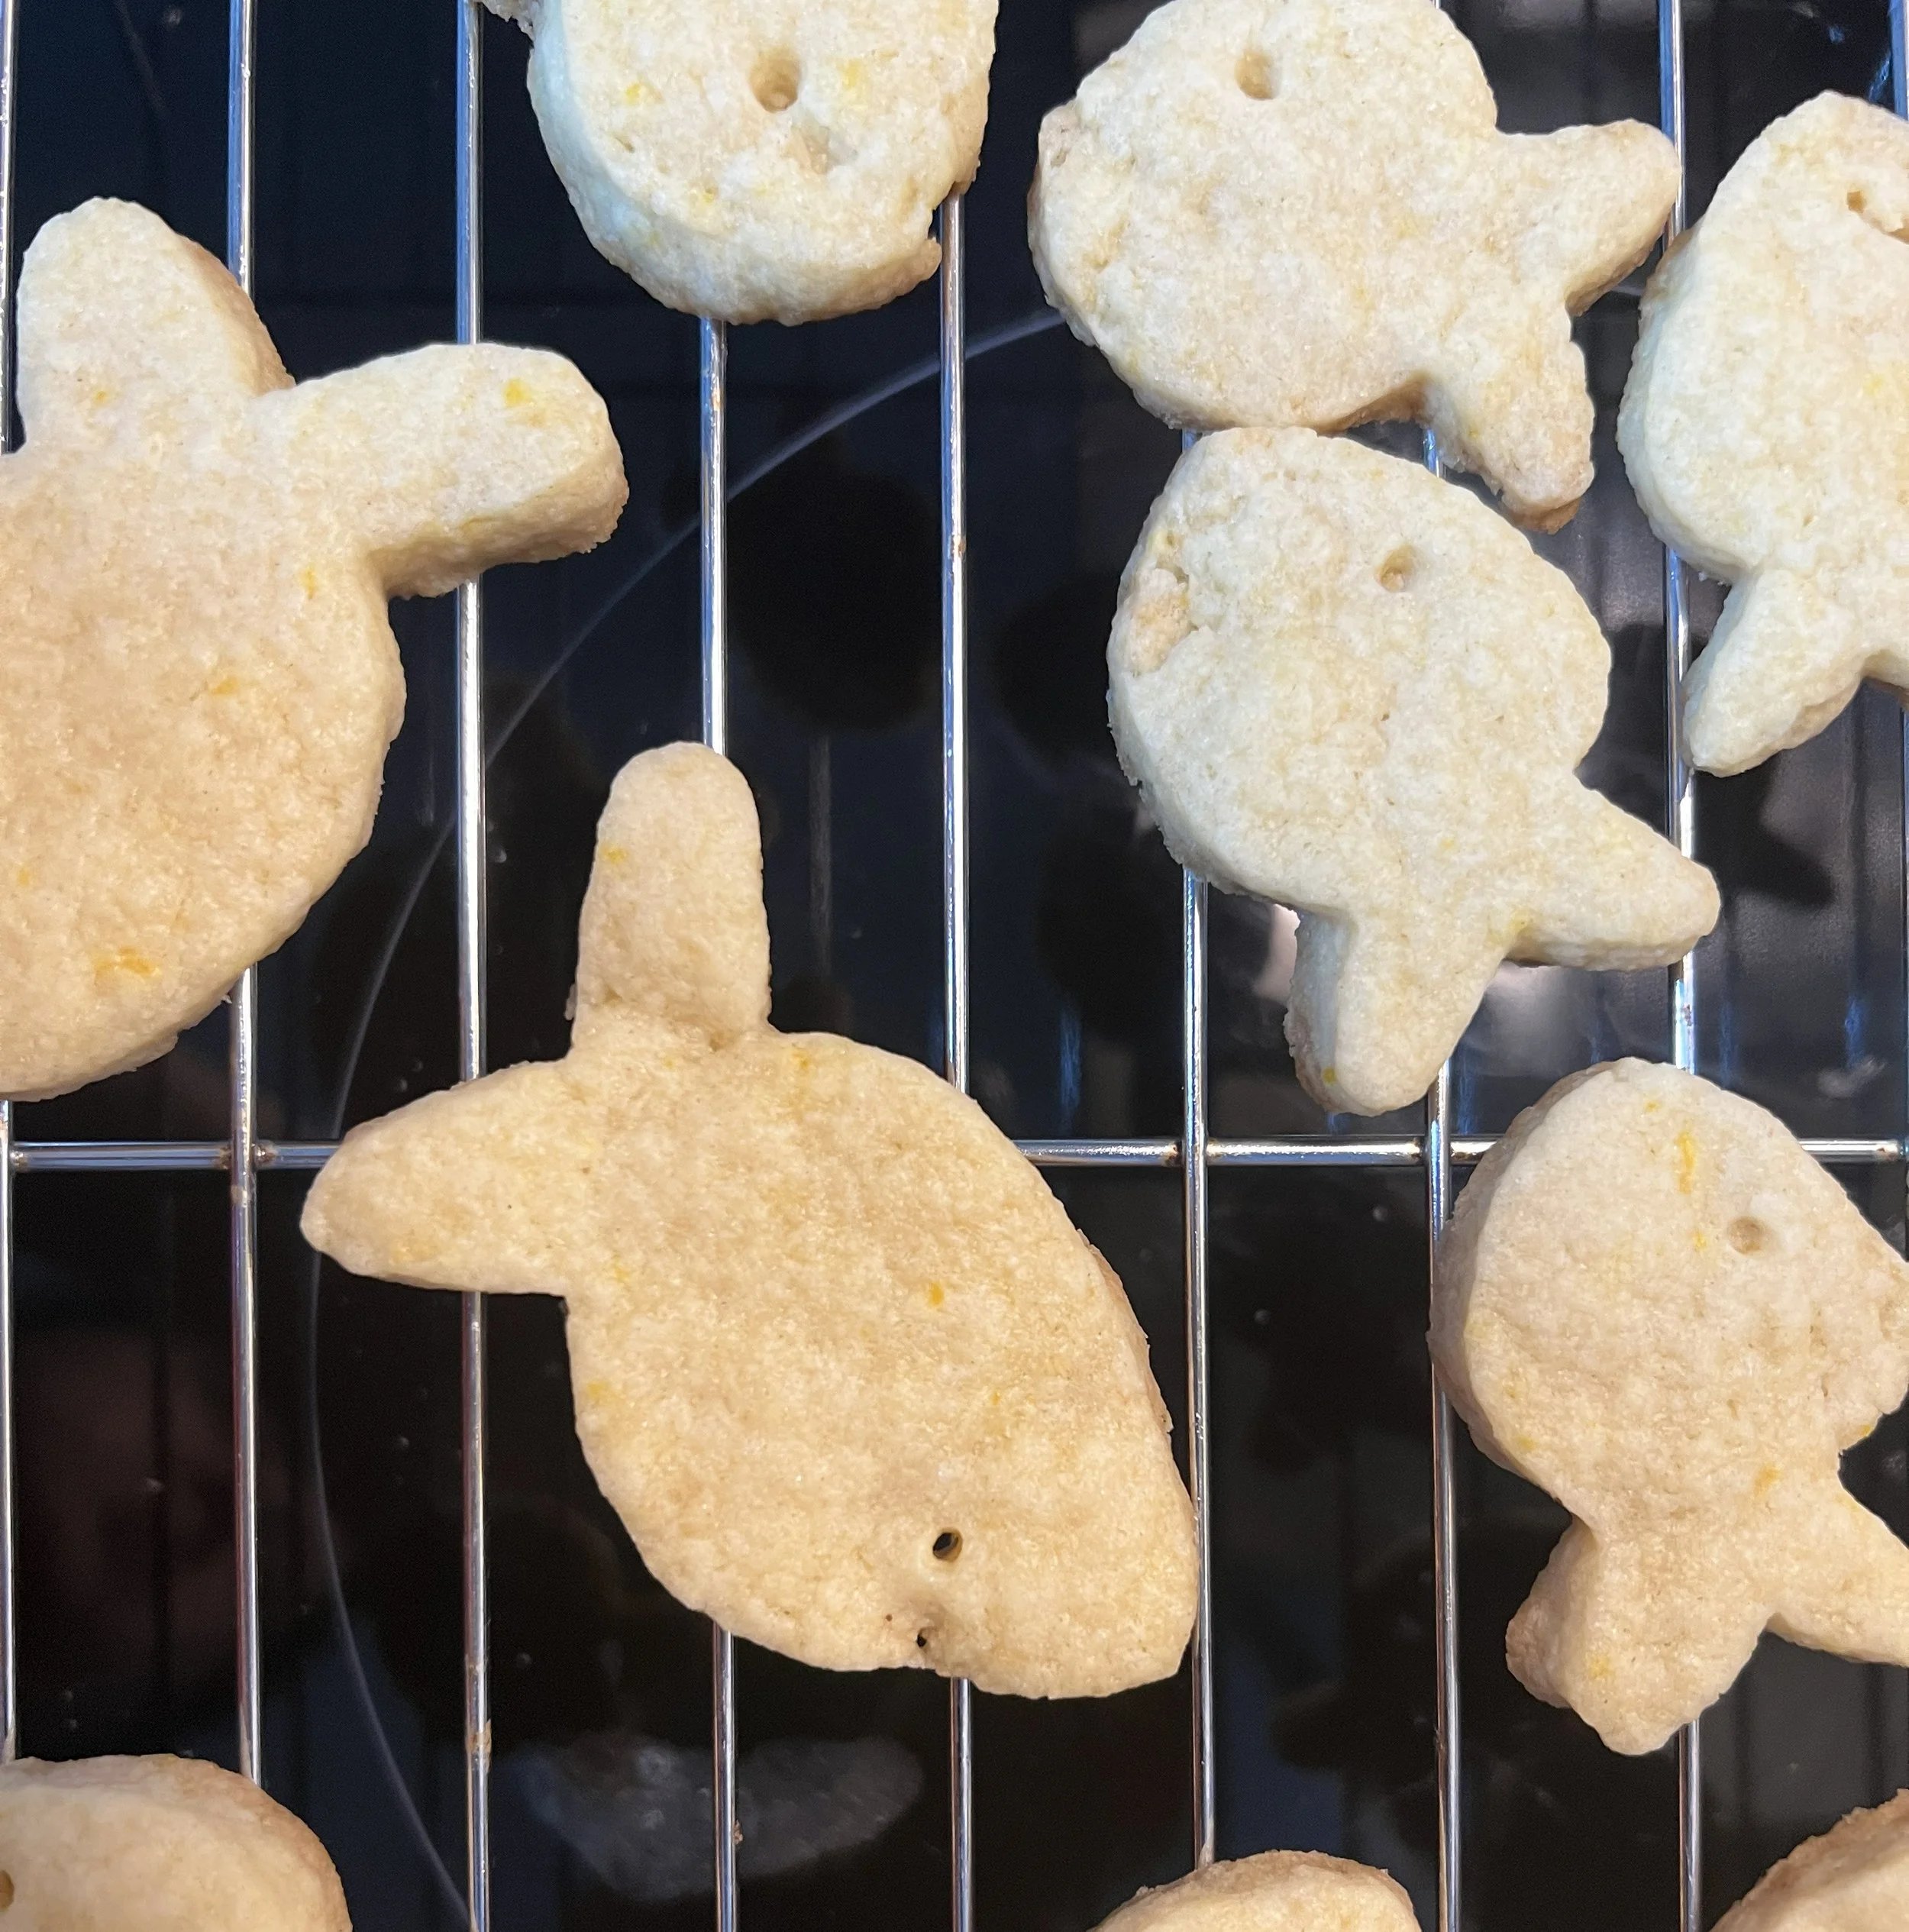
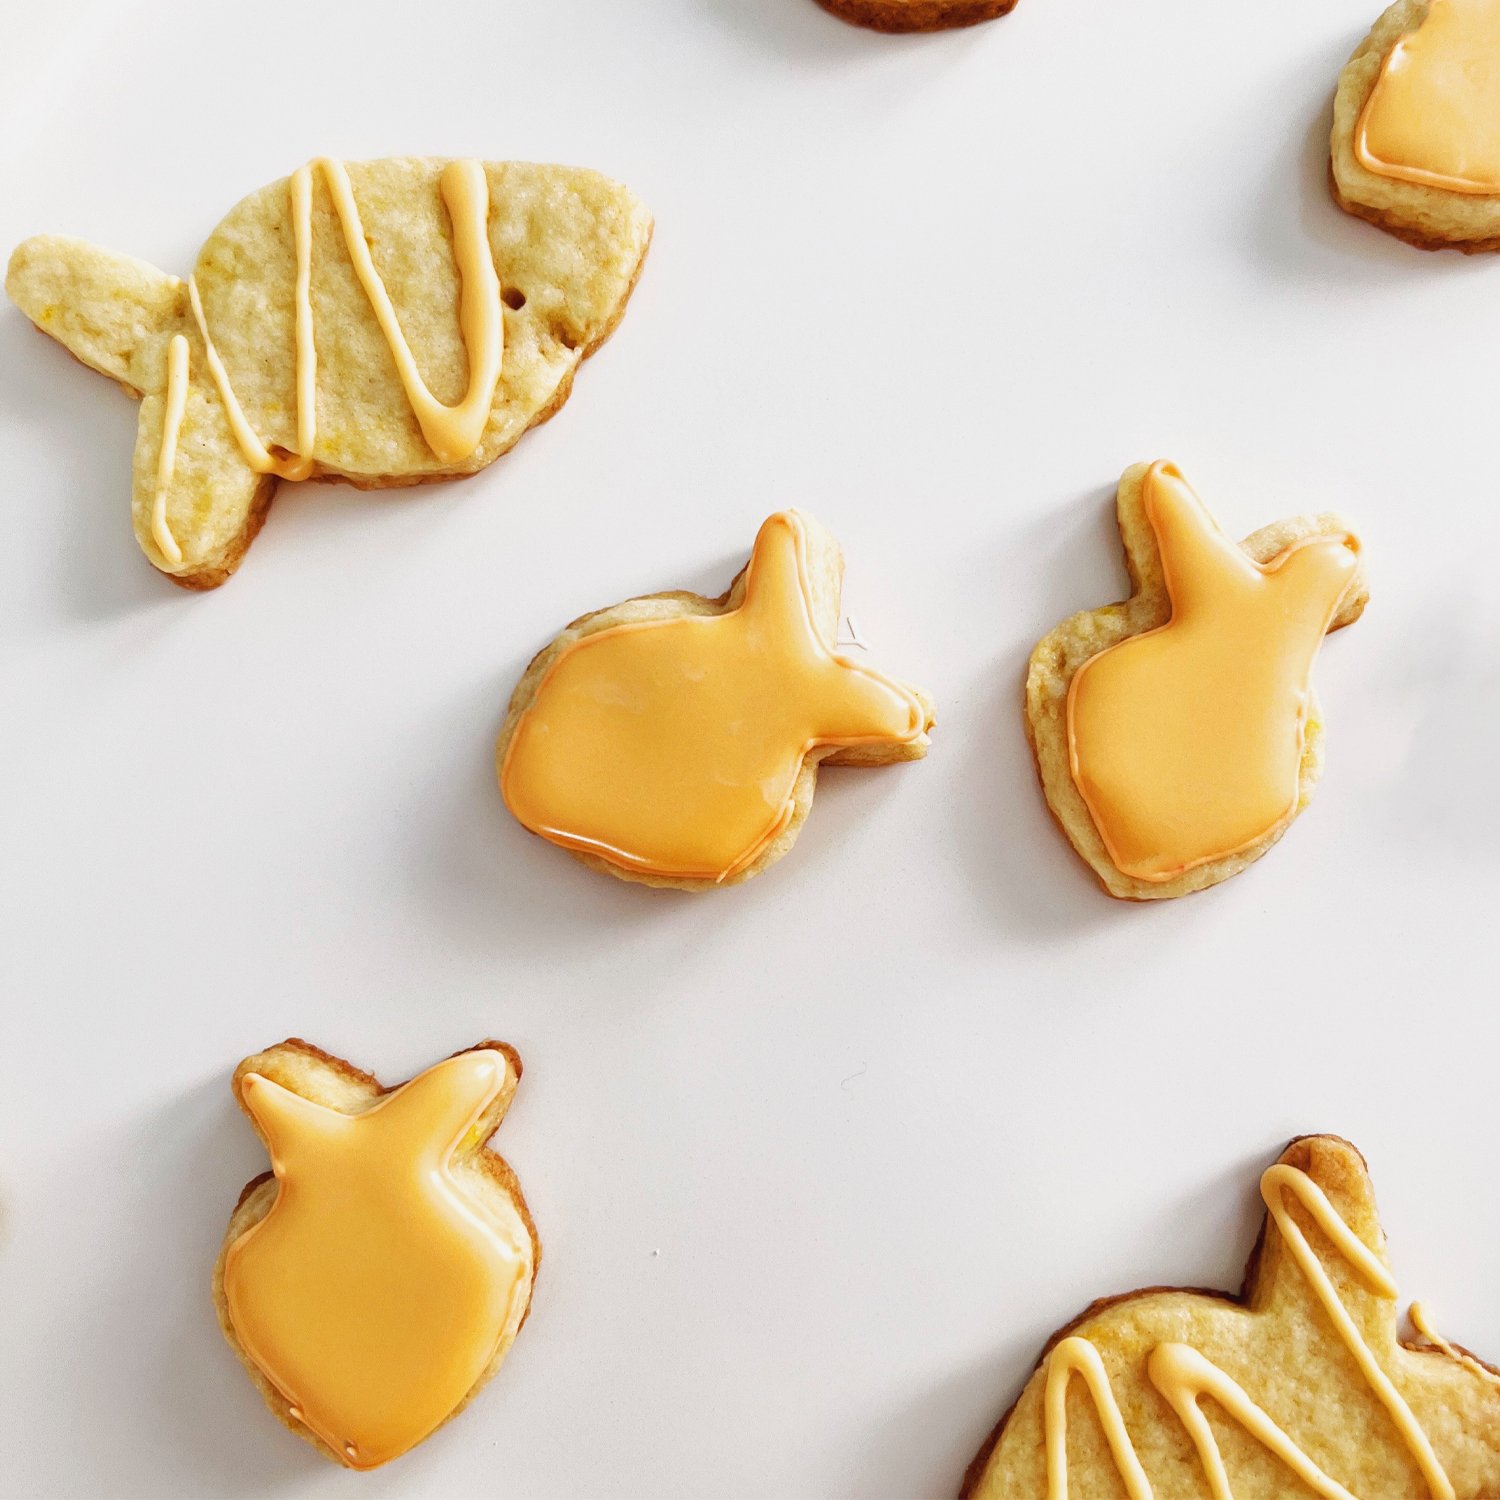
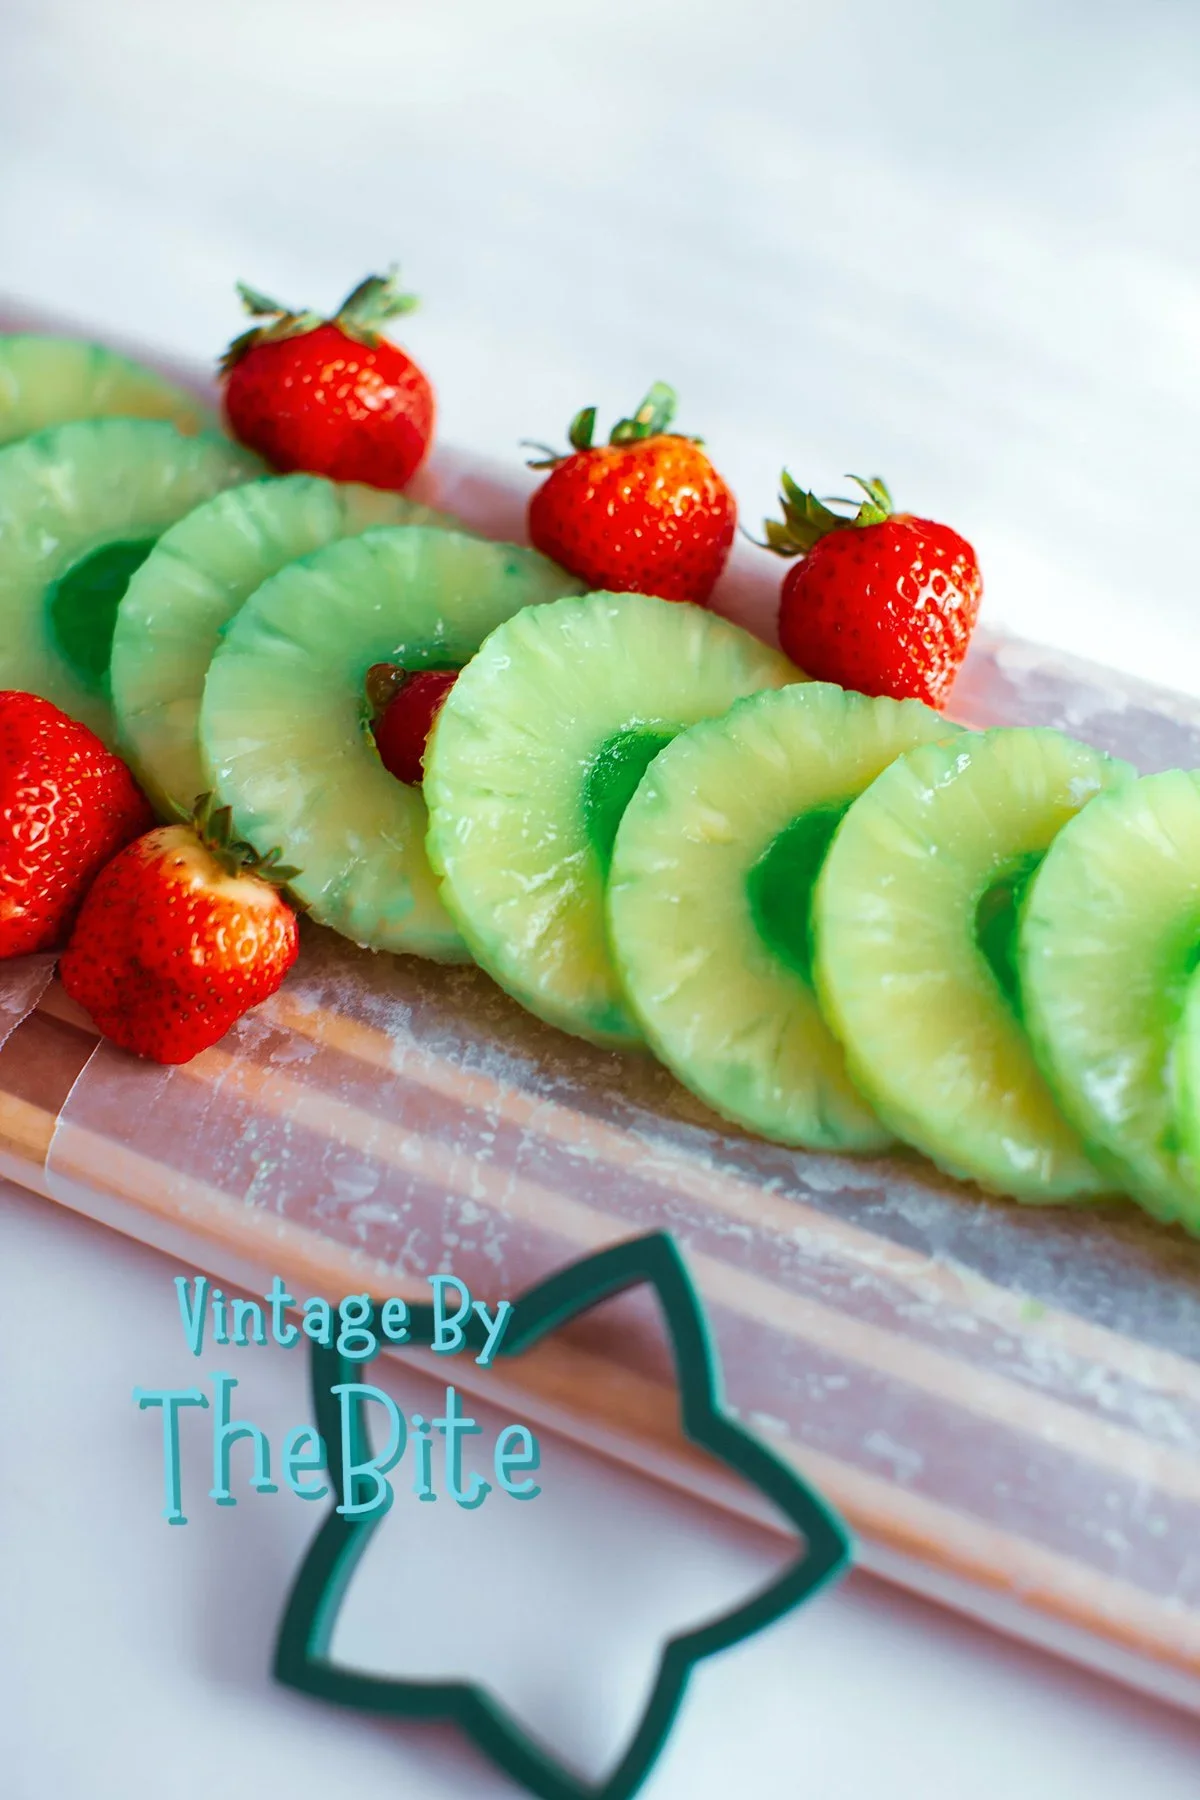
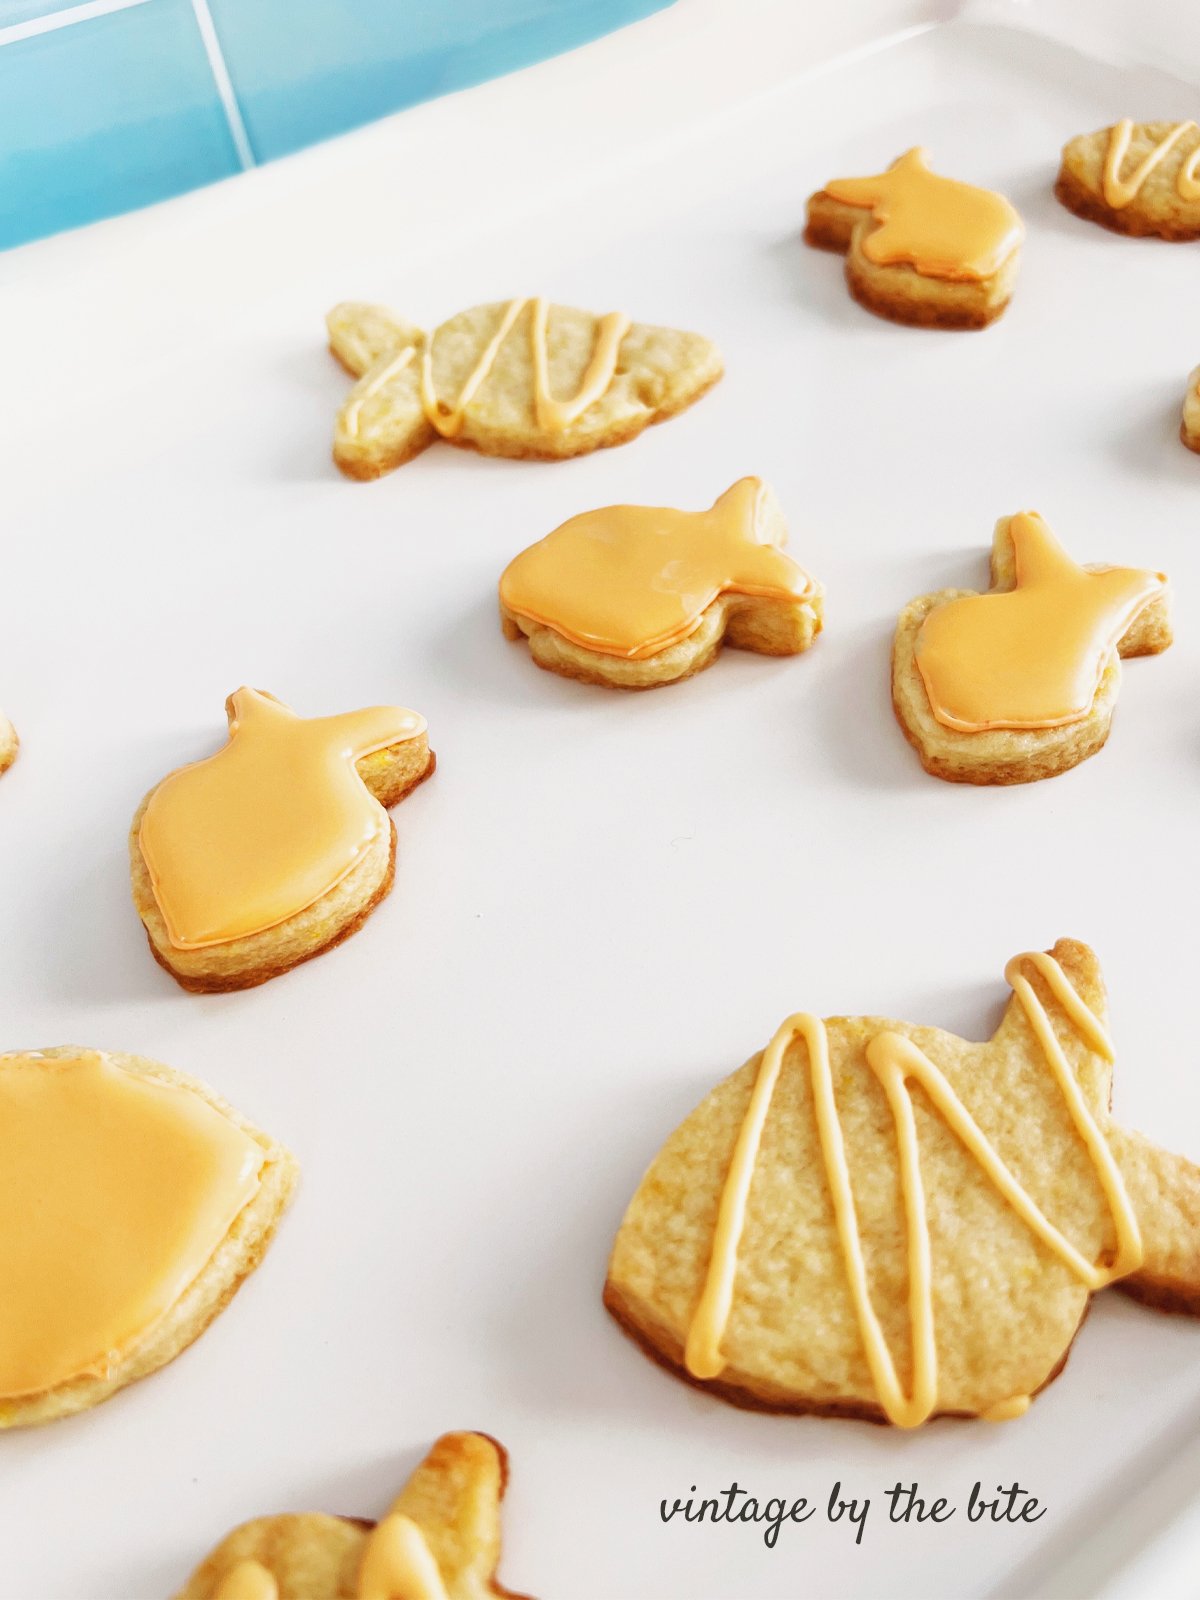
The Gallery photos show the ingredients, dough preparation, baking, icing, and finished goldfish-shaped sugar cookies with orange icing.mid-century sugar cookie recipe
Kitschy Orange Sugar Cookies
Low-rise • crisp detail • perfect for shaped cutters
Sugar cookie recipe adapted 1962 Woman’s Day cookie recipe, tested and preserved by Vintage by the Bite
Makes: about 2½–3 dozen thin cookies
Oven: 350°F
Texture: flat, tender, holds shape beautifully no surprises in the oven.
Ingredients
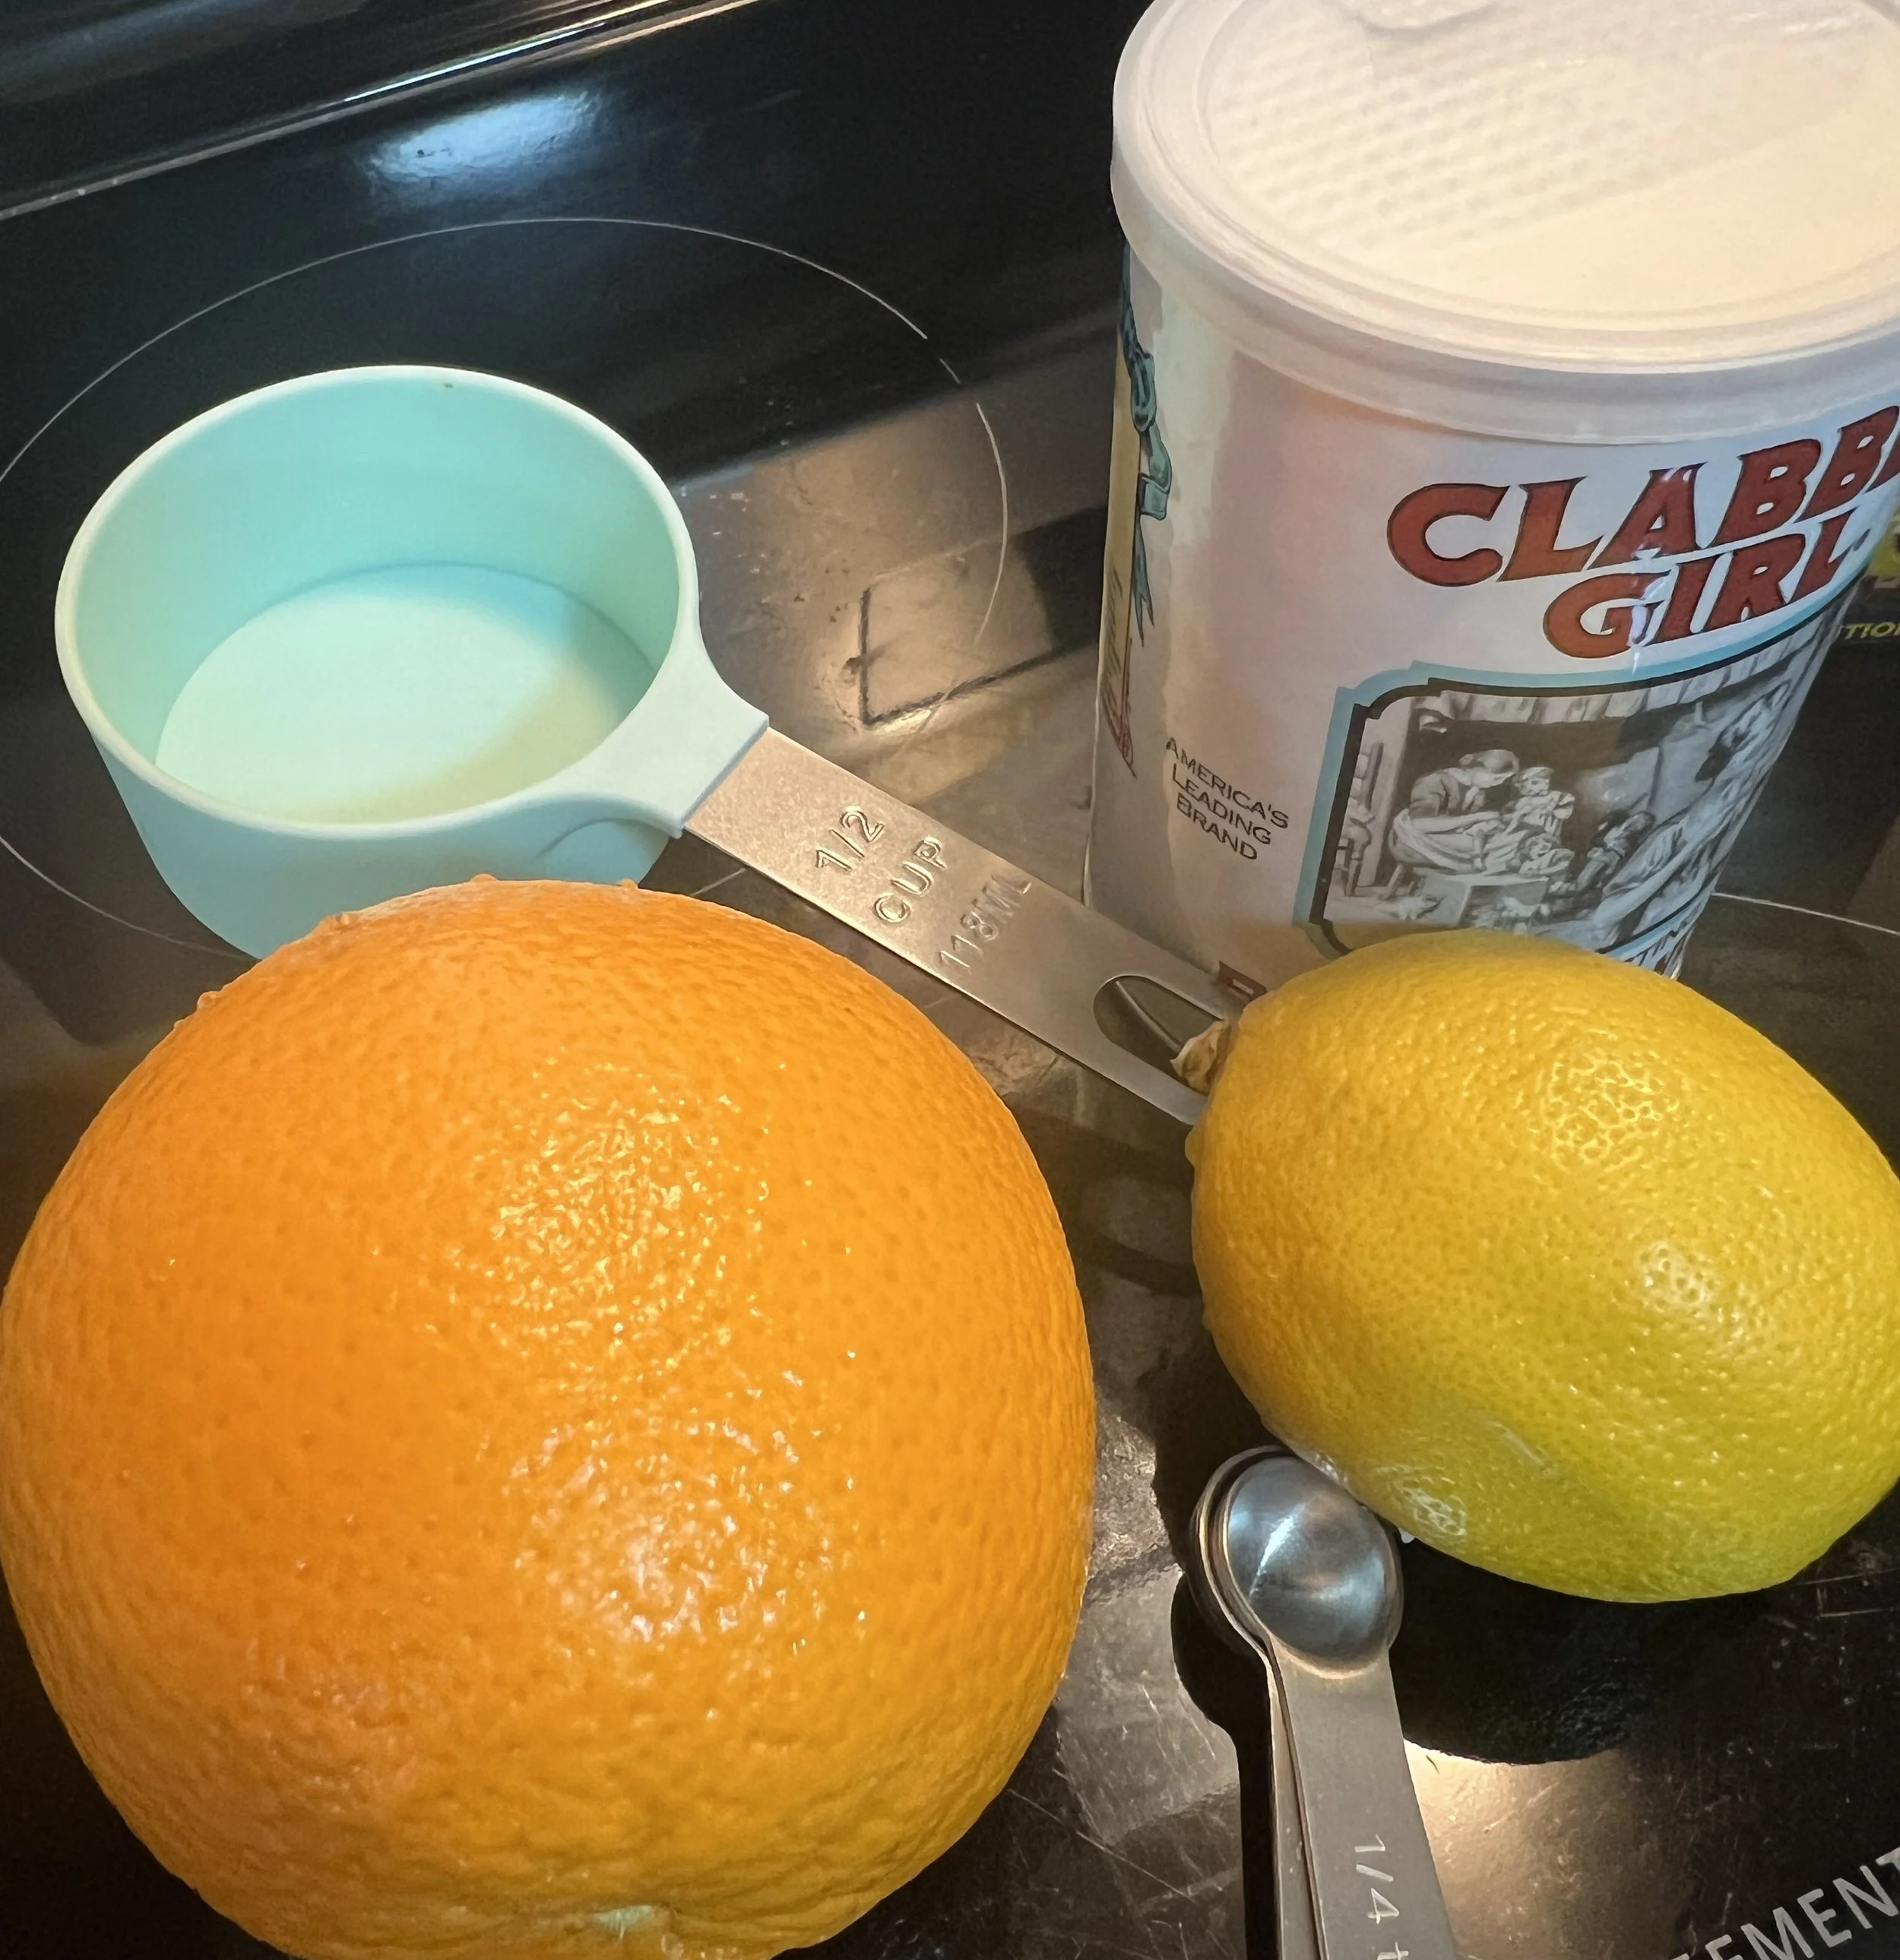
½ cup butter, softened (sweet cream style)
½ cup granulated sugar
1½ teaspoons finely grated orange rind (adds real zip)
½ teaspoon finely grated lemon rind
¼ teaspoon baking soda
¼ teaspoon salt
¼ teaspoon double-acting baking powder (just enough lift)
1½ cups sifted all-purpose flour
2 tablespoons orange juice
Instructions
In a large bowl, blend the orange rind and lemon rind into the softened butter until well mixed, good and creamy does it.
Add the sugar, baking soda, and salt. Cream just until smooth and fluffy, don’t overdo the beating.
In a separate bowl, sift together the flour and baking powder. the old-fashioned way for best results.
Add the flour mixture to the butter mixture alternately with the orange juice, mixing gently just until combined. This dough should be soft and workable, easy as pie.
Wrap the dough and chill thoroughly, at least 2 hours (overnight is fine). A well-chilled dough behaves itself.
On a lightly floured surface, roll dough just under ⅛-inch thick. thin is in for neat cookies.
Cut with cookie cutters and place on parchment-lined or lightly greased baking sheets, keeping shapes evenly spaced. no crowding, please.
Chill the cut cookies on the baking sheet for 15–20 minutes before baking. this step makes all the difference.
Bake at 350°F for 8–10 minutes, just until the cookies are set and the edges are barely golden. watch closely.
Cool completely before icing or glazing. Ready for company. or the cookie jar.
Classic Royal Icing Recipe
(Perfect for outlining, flooding, and delicate piping)
Ingredients
4 cups powdered sugar, sifted
3 tablespoons meringue powder
5–6 tablespoons warm water
½ teaspoon vanilla extract (optional, clear vanilla keeps it bright white)
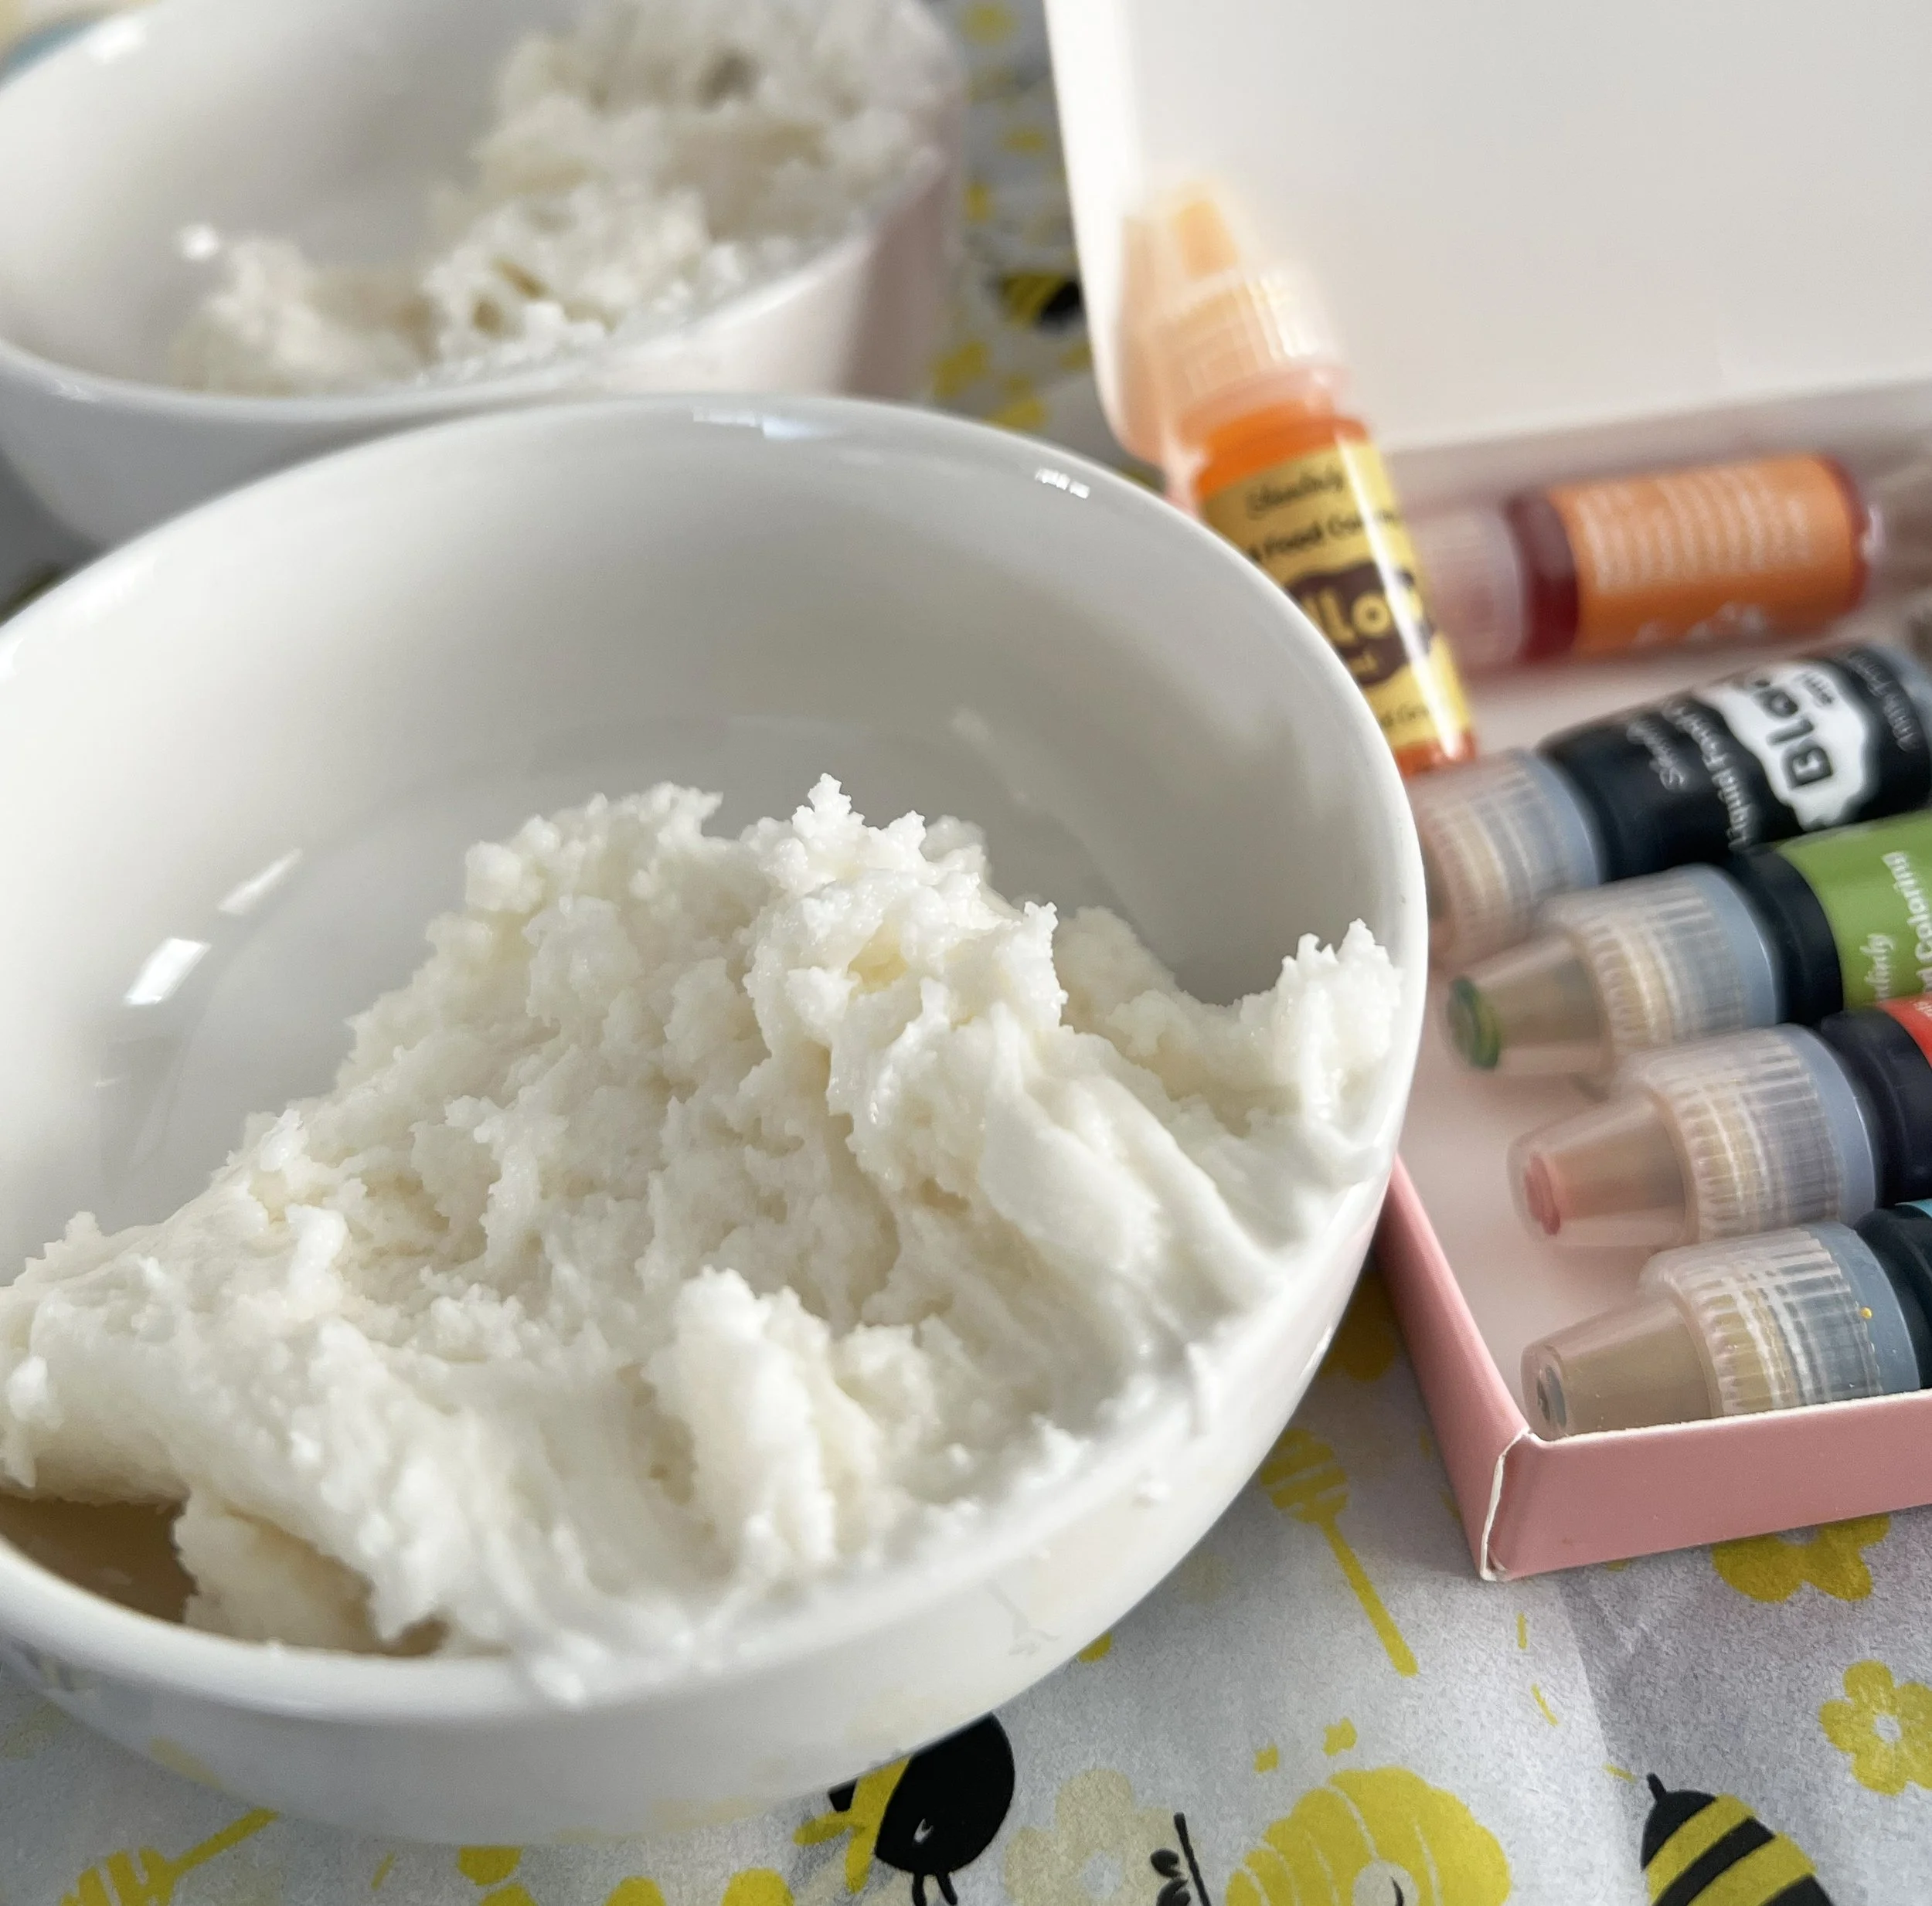
3 drops orange 2 drops yellow food coloring
Instructions
In a large bowl, combine the powdered sugar and meringue powder.
Add 5 tablespoons of warm water and the vanilla.
Beat on low speed for about 2 minutes, then increase to medium and beat until smooth and glossy, about 3–4 minutes.
Check the consistency and add more water a teaspoon at a time until you reach the texture you need.
Consistency Guide (this is the secret sauce)
Stiff / Flowers & details: holds sharp peaks, barely moves
Outline icing: thick but pipeable, soft peaks
Flood icing: thin enough to settle smoothly—when drizzled, lines disappear in about 10–12 seconds
(Old baker’s trick: if it disappears faster, it’s too thin; slower, add a few drops of water.)

Kitchen Notes:
These cookies bake quickly, about 8–10 minutes, and shouldn’t go past the 10-minute mark.
A mix of orange, yellow, and red food coloring works well for achieving a classic goldfish color.
Always keep royal icing covered with a damp towel air is its enemy.
If it thickens while you work, stir in a few drops of water, not a splash.
Icing colors deepen as they dry, so go lighter than you think.
(Print Tip: Be sure to select the exact page you want to print — otherwise it may print the whole post!)

tested original recipe from 1962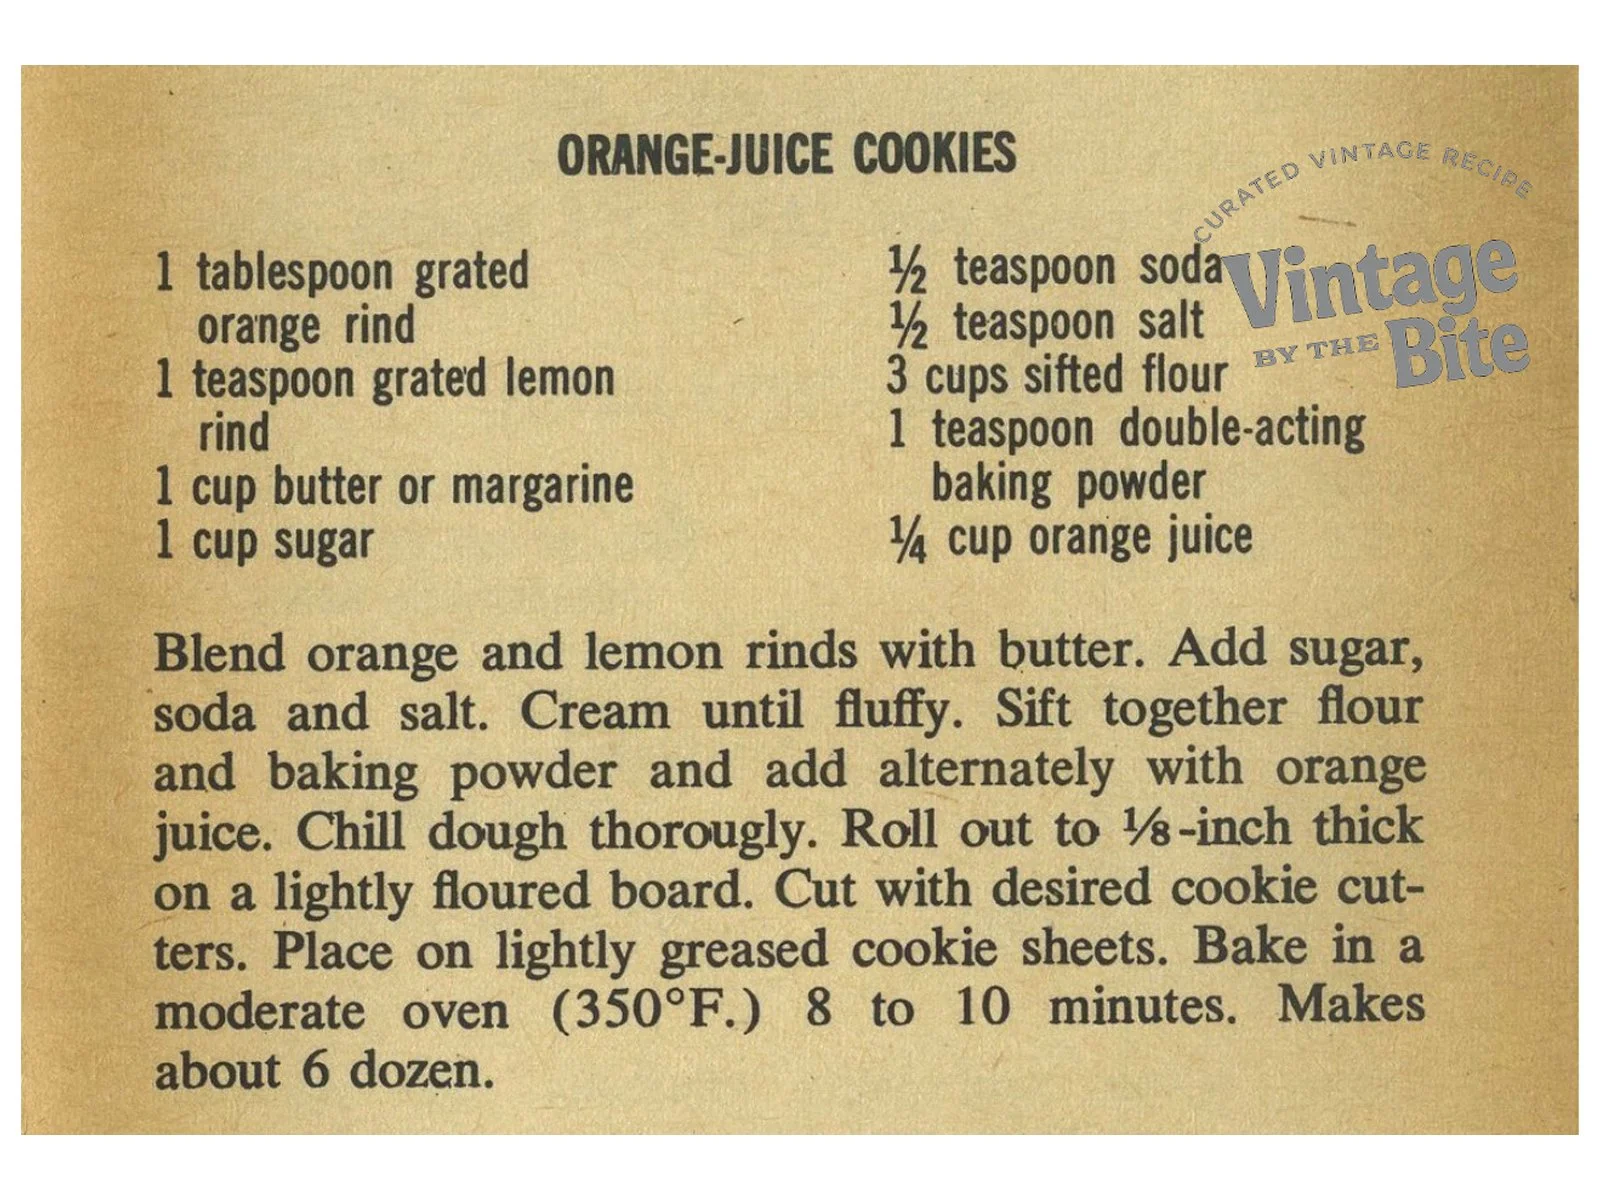
Fun vintage serving tips
1. Cellophane Treat Bags (1950s Bake Sale Style)
Stack a few goldfish cookies in clear cellophane bags, tie them with baker’s twine or a pastel ribbon, and add a handwritten tag. It’s a sweet, old-fashioned way to package them for gifts, playdates, or school snacks just like a neighborhood bake sale.
2. After-School Snack Tray
Serve the cookies on a small melamine plate with a glass of milk or orange juice. It’s an easy after-school treat that feels nostalgic and special without being fussy, perfect for kids coming home hungry and ready to snack.
3. Party or Playdate Favor Plate
Arrange the cookies on a shallow platter or lunchroom-style tray and let kids pick their favorite shapes. Add a few paper napkins in bright colors for a playful, retro look that works well for playdates, birthday tables, or casual get-togethers.
🛒 Retro Shopping
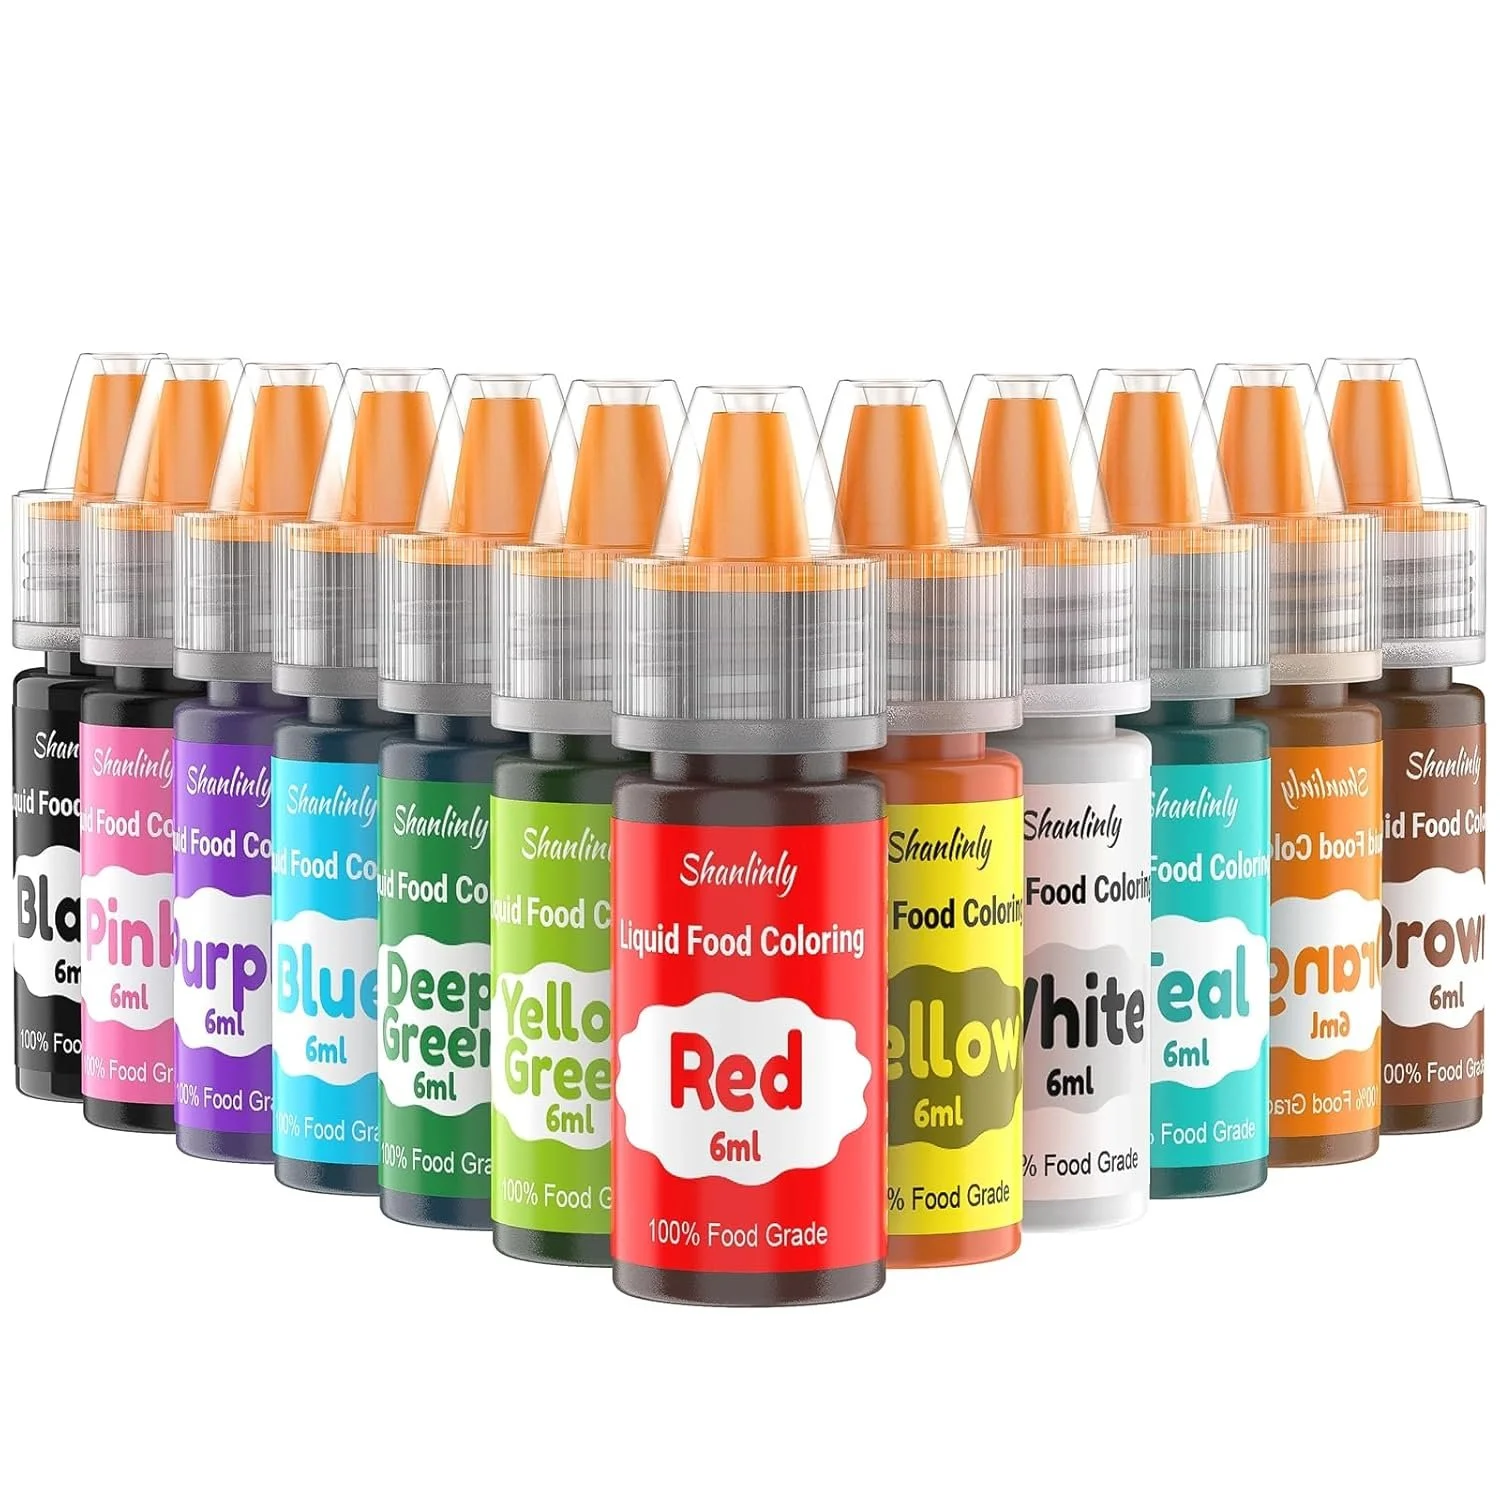

Available on Amazon: Food Coloring Liquid Set for Baking, Shanlinly 12 Color Food Grade Neon
Available on Amazon: Goldfish Cookie Cutter Set - 5 inch, 4 inch, 3 inch, 2 inch - 4 Piece Simple Fish Cookie Cutters Shapes Molds - Stainless Steel
Closing Words
I thought this was such a kitschy idea and wasn’t sure how to pull the blog together a vintage-style orange cookie in the shape of a goldfish, but it works, and they’re super cute! If you make them, let me know and tag me on Instagram.
📌 check out more kitshy retro food blog posts