7-Up Cast Iron Biscuits 1940s-style
Eggless! 4-Ingredient 7UP Biscuits from the 1940s
Published: November 10, 2025
This blog contains affiliate links, which support the free content on this blog. As an Amazon Associates affiliate, I earn from qualifying purchases.
During the 1940s, clever home cooks learned to make the most of what they had.
With pantry staples in short supply and creativity running high, even a simple bottle of soda could become a secret ingredient. These buttery, golden 7UP biscuits are a perfect example of that home front ingenuity light, tender, and made with just four ingredients.
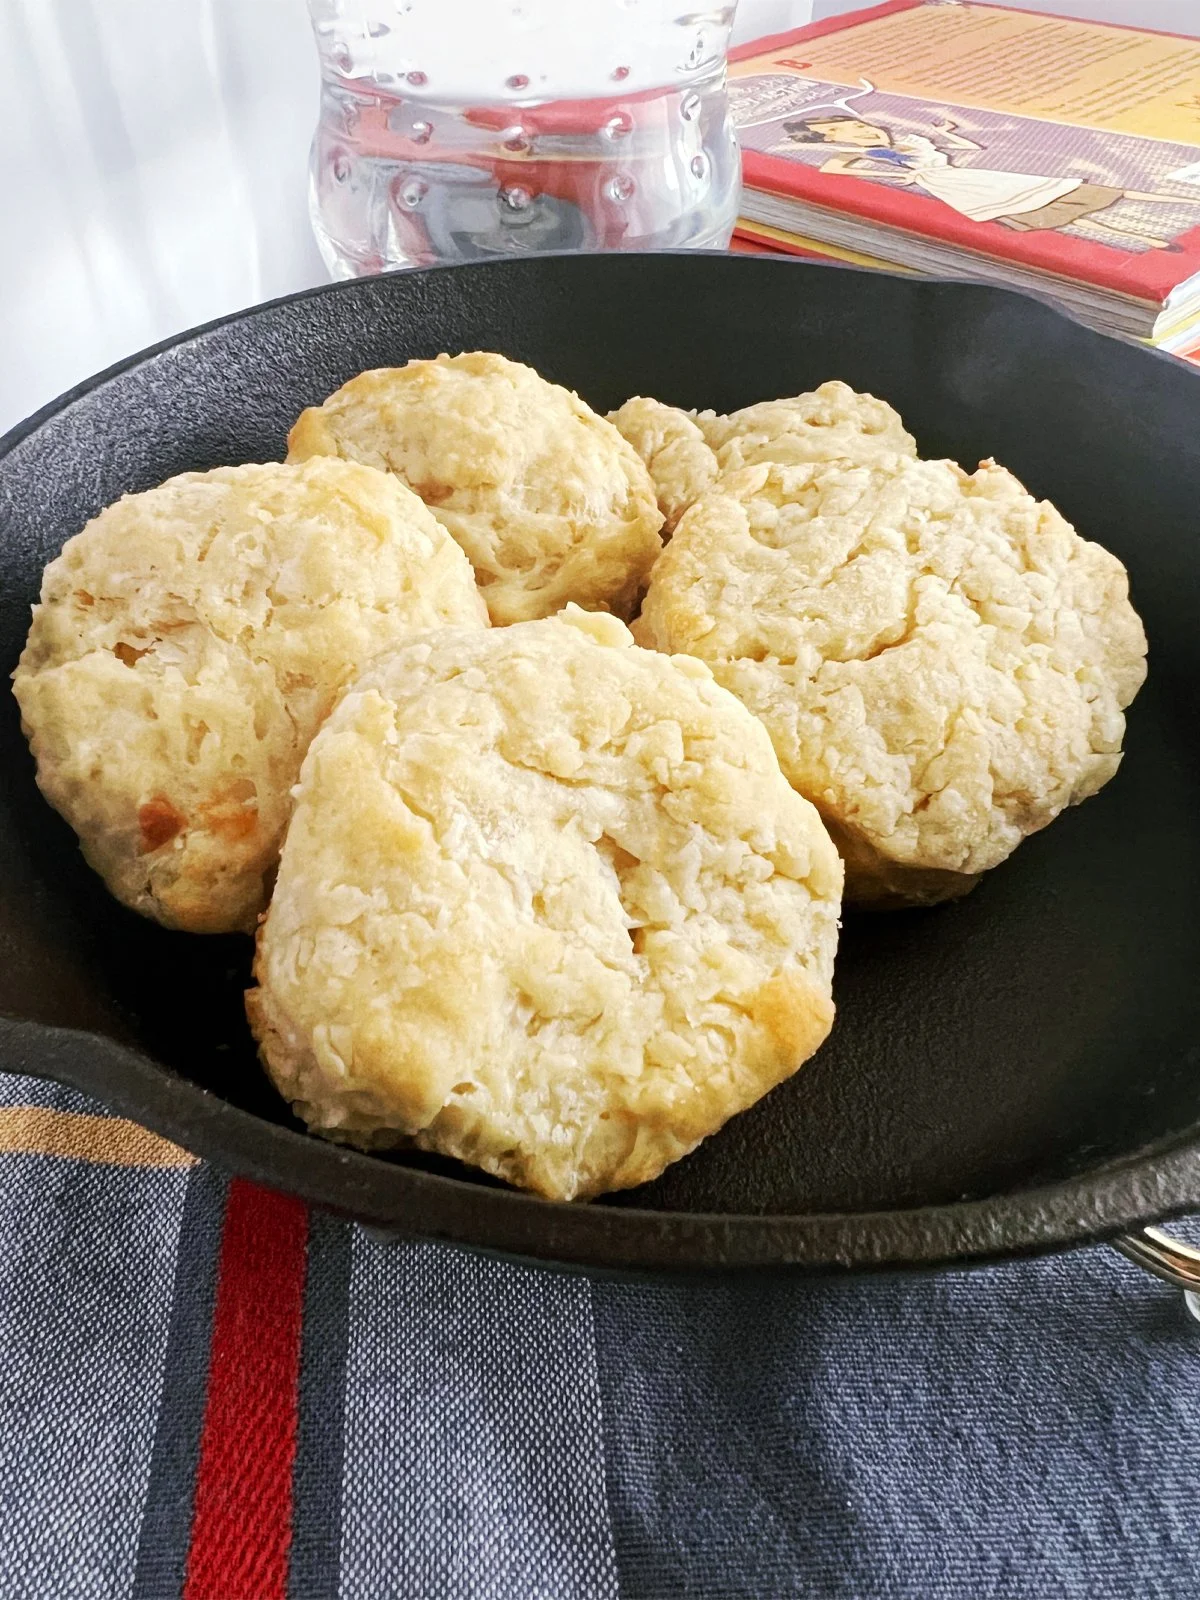
A splash of 7UP gave these biscuits their lift and tender crumb, no yeast or eggs required.
Baked in a cast iron skillet, they puff up beautifully and fill the kitchen with that cozy, fresh-from-the-oven scent that never goes out of style.
This is my third batch! The first was the Bisquick - 7UP version good flavor, but the texture reminded me of drop biscuits.
The second batch didn’t rise much, and I realized I’d probably overworked the dough. By the third try, I took a cue from a few other food bloggers and grated in the butter instead.
Blog Index:
1. A Retro Bite self-rising flour biscuits
2. Frequently Asked Questions
3. Step by step instructions
4. Fun vintage serving tips
5. Retro shopping
6. Closing words
🍴 A Retro Bite -self rising flour biscuits
💨 1. The Self-Rising Flour
Self-rising flour already contains baking powder (a blend of an acid and a base) and salt. When the dough hits oven heat, the baking powder releases carbon dioxide bubbles, which expand and make the biscuits rise.
It’s your built in leavening no yeast or egg needed.
🥤 2. 7UP
The soda adds:
Extra carbonation, which gives the dough an immediate lightness.
Acidic balance (citric acid from the soda) that boosts the baking powder’s reaction.
A touch of sugar and moisture, which tenderizes the crumb.
Together, they create that fluffy, pillowy texture all without eggs or yeast.
🧈 3. The Butter’s Role
Grated cold butter creates steam pockets as it melts, giving you those lovely flaky layers and even more lift.
Frequently Asked Questions
1. How should I store leftover 7UP biscuits?
Let the biscuits cool completely, then store them in an airtight container at room temperature for up to 2 days. For longer storage, refrigerate them for up to 5 days, or freeze for up to 3 months. Reheat in the oven at 350°F for 5–8 minutes to bring back that fresh-from-the-oven texture.
2. Can I make the dough ahead of time?
Yes! Mix and cut your biscuits, then place them on a parchment-lined tray and refrigerate for up to 24 hours before baking. You can also freeze the unbaked biscuits, then bake straight from frozen just add 2–3 minutes to the bake time.

Vintage 7-up Eggless Biscuits

Step By Step Instructions - Cast iron skillet biscuits


4-Ingredient 7UP Biscuits (Self-Rising Flour Version)
Prep Time: 5 minutes
Cook Time: 18–20 minutes
Total Time: 23 minutes
Cuisine: American
Era: 1940s - 1950s Home Baking Revival
(Commonly seen in mid-century community cookbooks and brand promotions featuring 7UP.)
Ingredients
2 cups self-rising flour, whisk to fluff before measuring
1 stick unsalted butter, divided
Freeze ½ stick and grate into the dough
Melt 3 tablespoons for the bottom of the pan
Reserve 1 tablespoon for brushing biscuit tops
½ cup sour cream
½ cup 7UP or Sprite, plus 1 tablespoon extra if dough feels dry
Instructions
Preheat oven to 425°F (218°C).
Preheat the pan: Place your cast-iron skillet in the oven while it preheats. This ensures a crisp, golden bottom.
Grate the butter: Freeze ½ stick of butter for about 15 minutes, then grate it into a large mixing bowl with the flour. Add the sour cream and stir gently until evenly combined.
Add the soda: Pour in 7UP and mix just until a sticky dough forms. Don’t overmix. If the dough looks too dry, add the reserved tablespoon of 7UP.
Fold the dough: Turn the dough onto a lightly floured surface. Gently pat it out, fold it once, then pat again to about 1-inch thickness.
Cut biscuits: Use a biscuit cutter or glass to cut rounds.
Prepare the hot pan: Carefully remove the heated skillet from the oven. Add 3 tablespoons melted butter, swirling to coat the bottom and sides.
Arrange biscuits: Place biscuits in the hot pan, slightly touching. Brush the tops lightly with some of the melted butter from the pan.
Bake: Bake for 18–20 minutes, or until biscuits are light golden brown on top.
Finish: Brush with the reserved tablespoon of melted butter. Let cool for 5–10 minutes before serving warm.
Notes
Pat, don’t roll: Over rolling compresses the dough and limits the rise.
Cold butter = tall biscuits: Keep your butter and dough chilled for best lift.
For a holiday flair, serve with cranberry butter or honey drizzle.
✦ A Vintage by the Bite Classic Recipe ✦
(Print Tip: Be sure to select the exact page you want to print - otherwise it may print the whole post!)


vintage inspired recipe 1940s vintage by the bite collectionFun vintage serving tips
🧈 1. Victory Breakfast Board
Give your biscuits a ration-era twist with a vintage breakfast spread straight out of 1944:
Serve your warm 7UP biscuits in a woven basket lined with a red-and-white gingham napkin.
Add small glass bowls of butter, honey, and jam (strawberry or apple jelly were wartime favorites).
Tuck in a few orange slices or canned peach halves for color it’s exactly what a 1940s homemaker would have done when fresh fruit was scarce.
🍓 2. Soda Shop Shortcake
Turn your biscuits into a retro dessert:
Split a warm 7UP biscuit in half.
Spoon over syrupy strawberries
Top with whipped cream or a scoop of vanilla ice cream.
Finish with a maraschino cherry on top just like a soda fountain treat!
Homemade Whipped Cream Recipe
Ingredients:
1 cup heavy whipping cream (cold)
2–3 tablespoons powdered sugar
1 teaspoon vanilla extract
Instructions:
Chill bowl and beaters for at least 10 minutes.
Add all ingredients; beat on high until medium peaks form (about 5 minutes).
Use immediately or refrigerate up to 24 hours.
✦ Retro Shopping


Available on Amazon:
Mercer Culinary Pre-Seasoned Cast Iron Skillet, 8-Inch

Closing Words
Whether you’re serving them alongside a vintage breakfast, pairing them with jam for an afternoon treat, or enjoying them straight from the skillet, these 7UP biscuits capture a moment in time when home baking was simple, thrifty, and made with love.
If you’re ready to keep the nostalgia going, don’t forget to join my Retro Recipe Club for more mid-century favorites!
Vintage recipe source 💌 This recipe is part of the Vintage by the Bite collection where 1940s–1960s recipes live on in today’s kitchens. With some instructions inspired by the Food Blogger: Kindly Unspoken
Explore more in Grandma’s Kitchen Wisdom Blogs below
✦ 6 Old-Fashioned Kitchen Tricks That Still Save Time and Money — Vintage By the Bite Retro Food Blog
📌 looking for another eggless recipe?