
Give Your Record Stand A Retro Makeover
From Plain to Retro: A Record stand Makeover for Autumn Evenings
Hot off the retro press: August 26, 2025

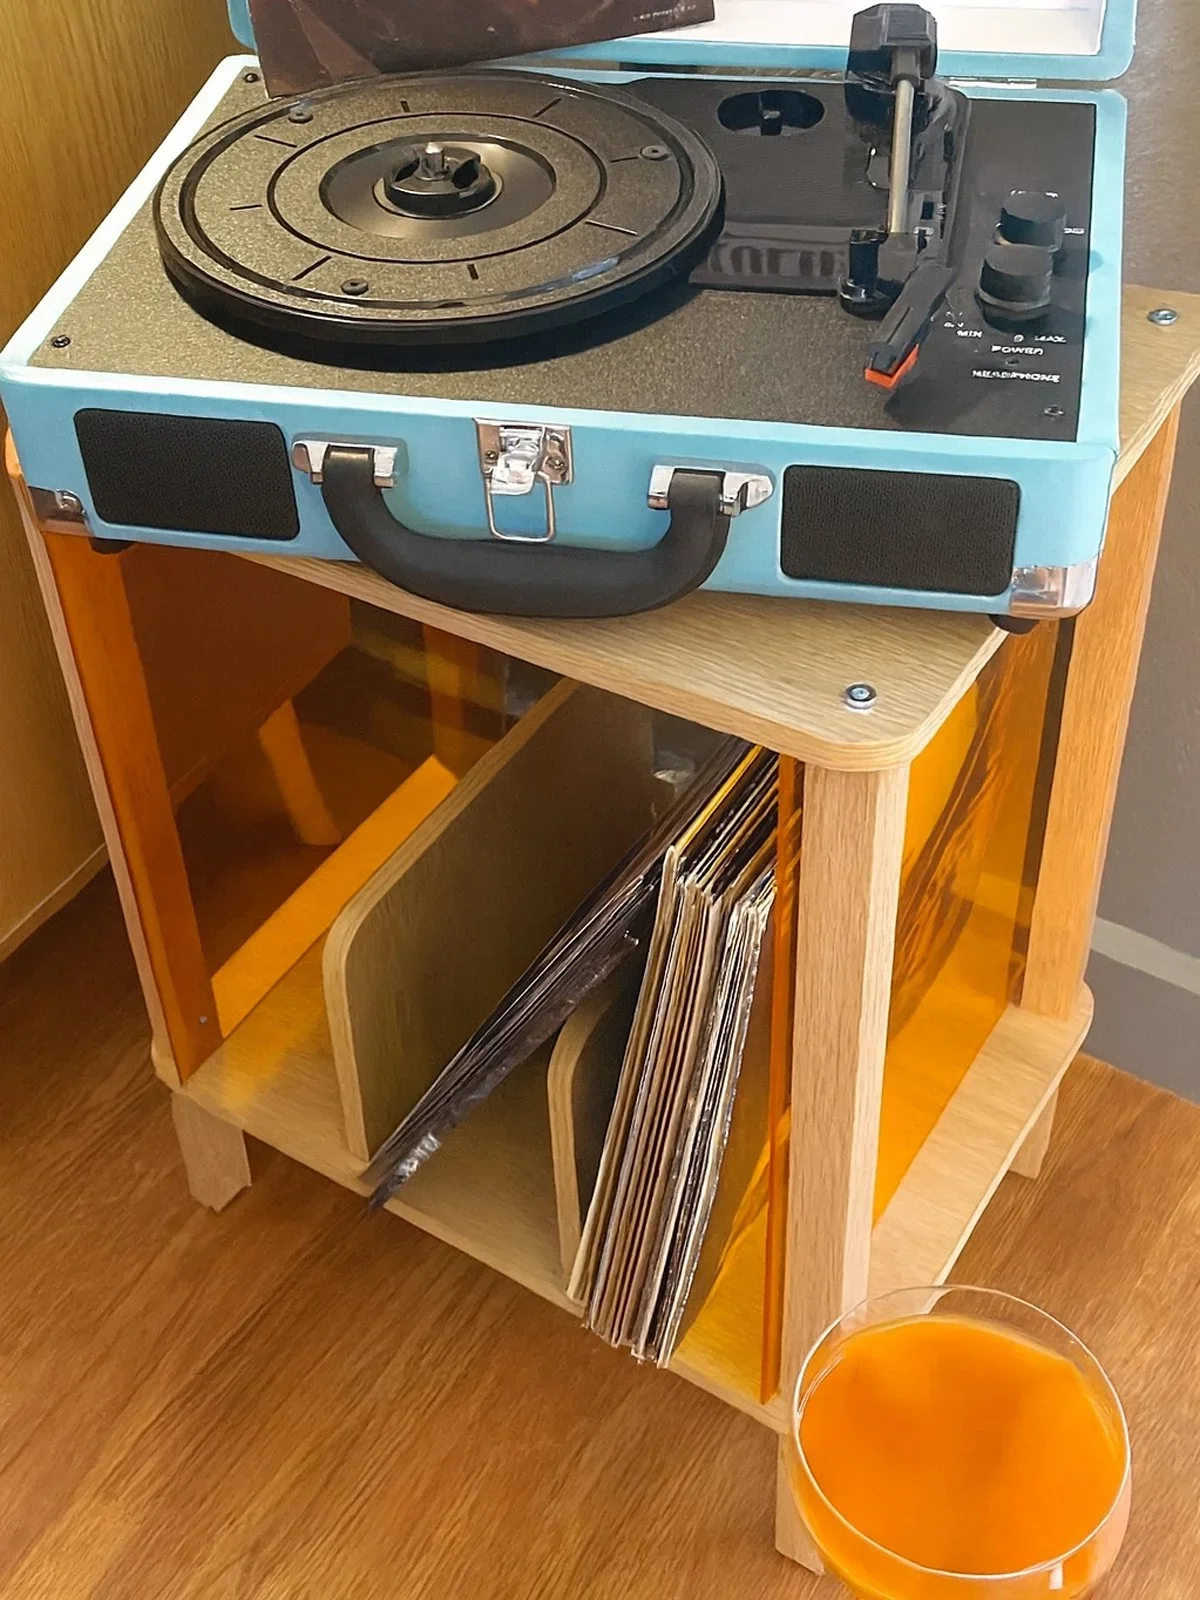
Before and After Teal & Orange


Picture a cocktail in hand, friends gathered close, and your favorite records stacked neatly in a stand that feels just as retro as the music itself.
This once plain Amazon record holder now glows with mid-century charm, perfectly styled for fall nights filled with cozy gatherings and timeless tunes.
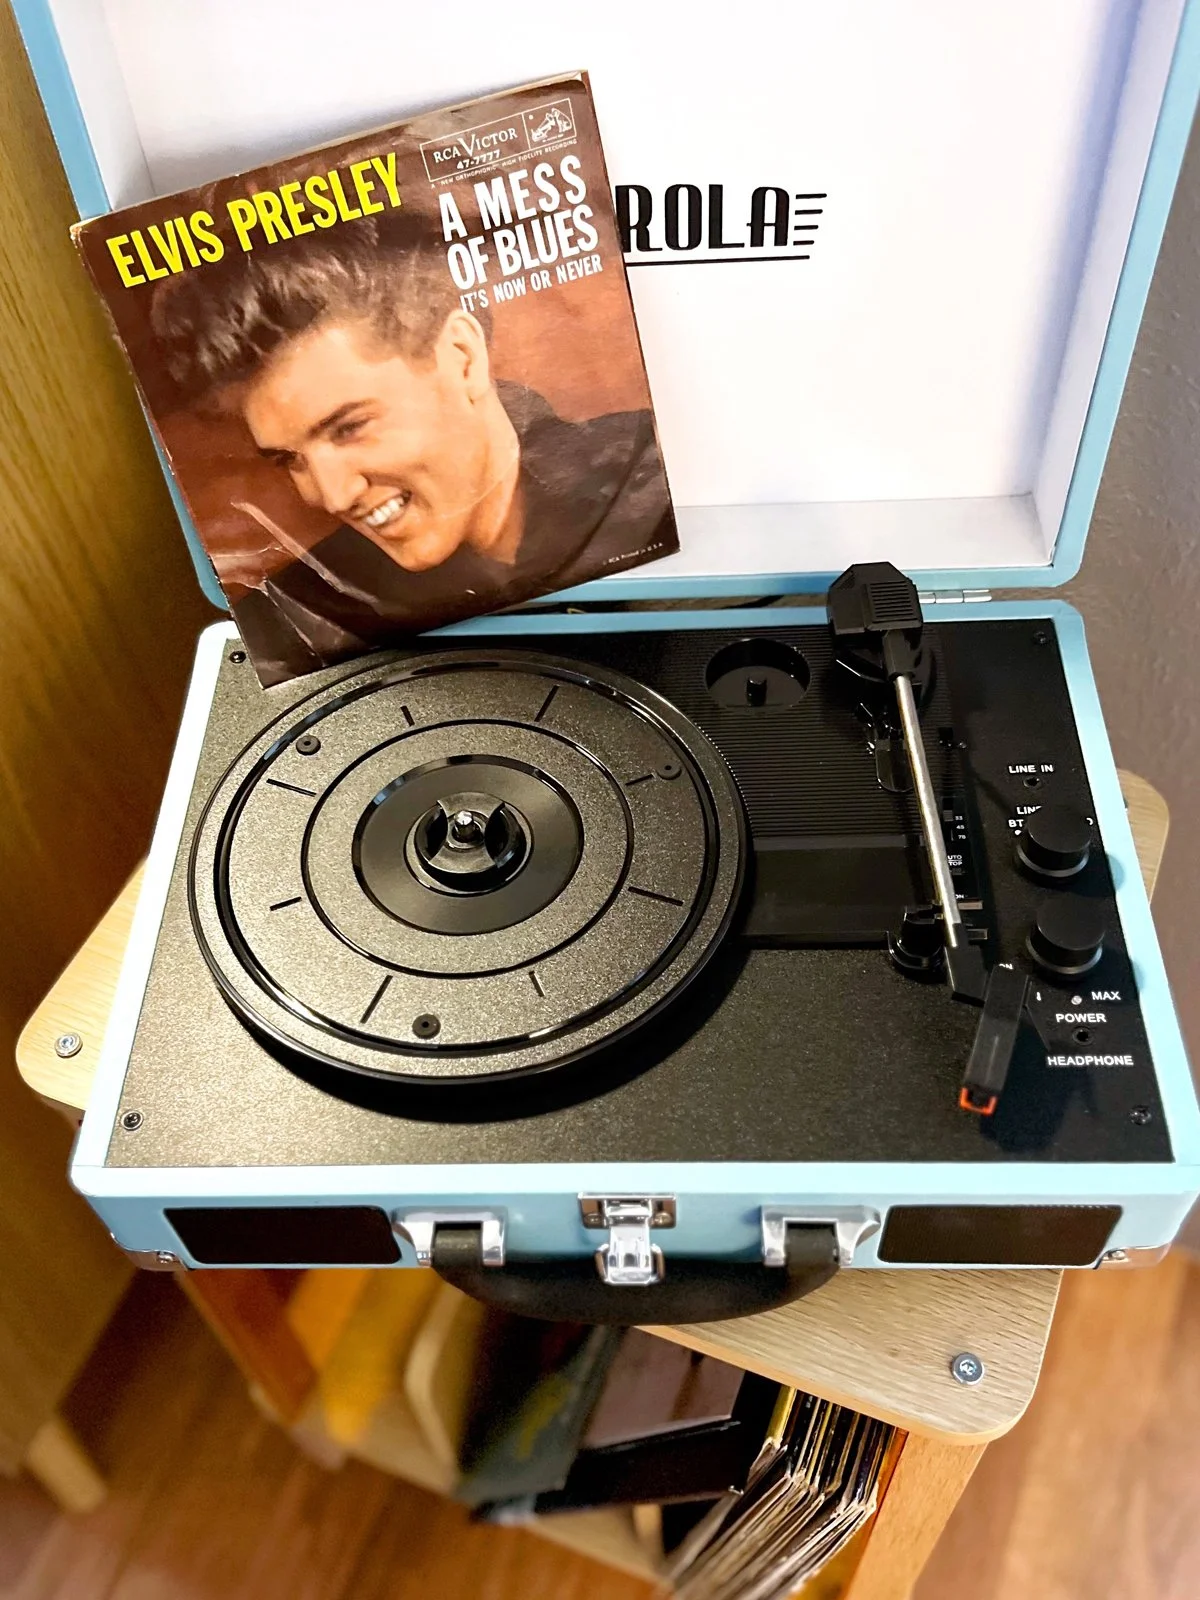
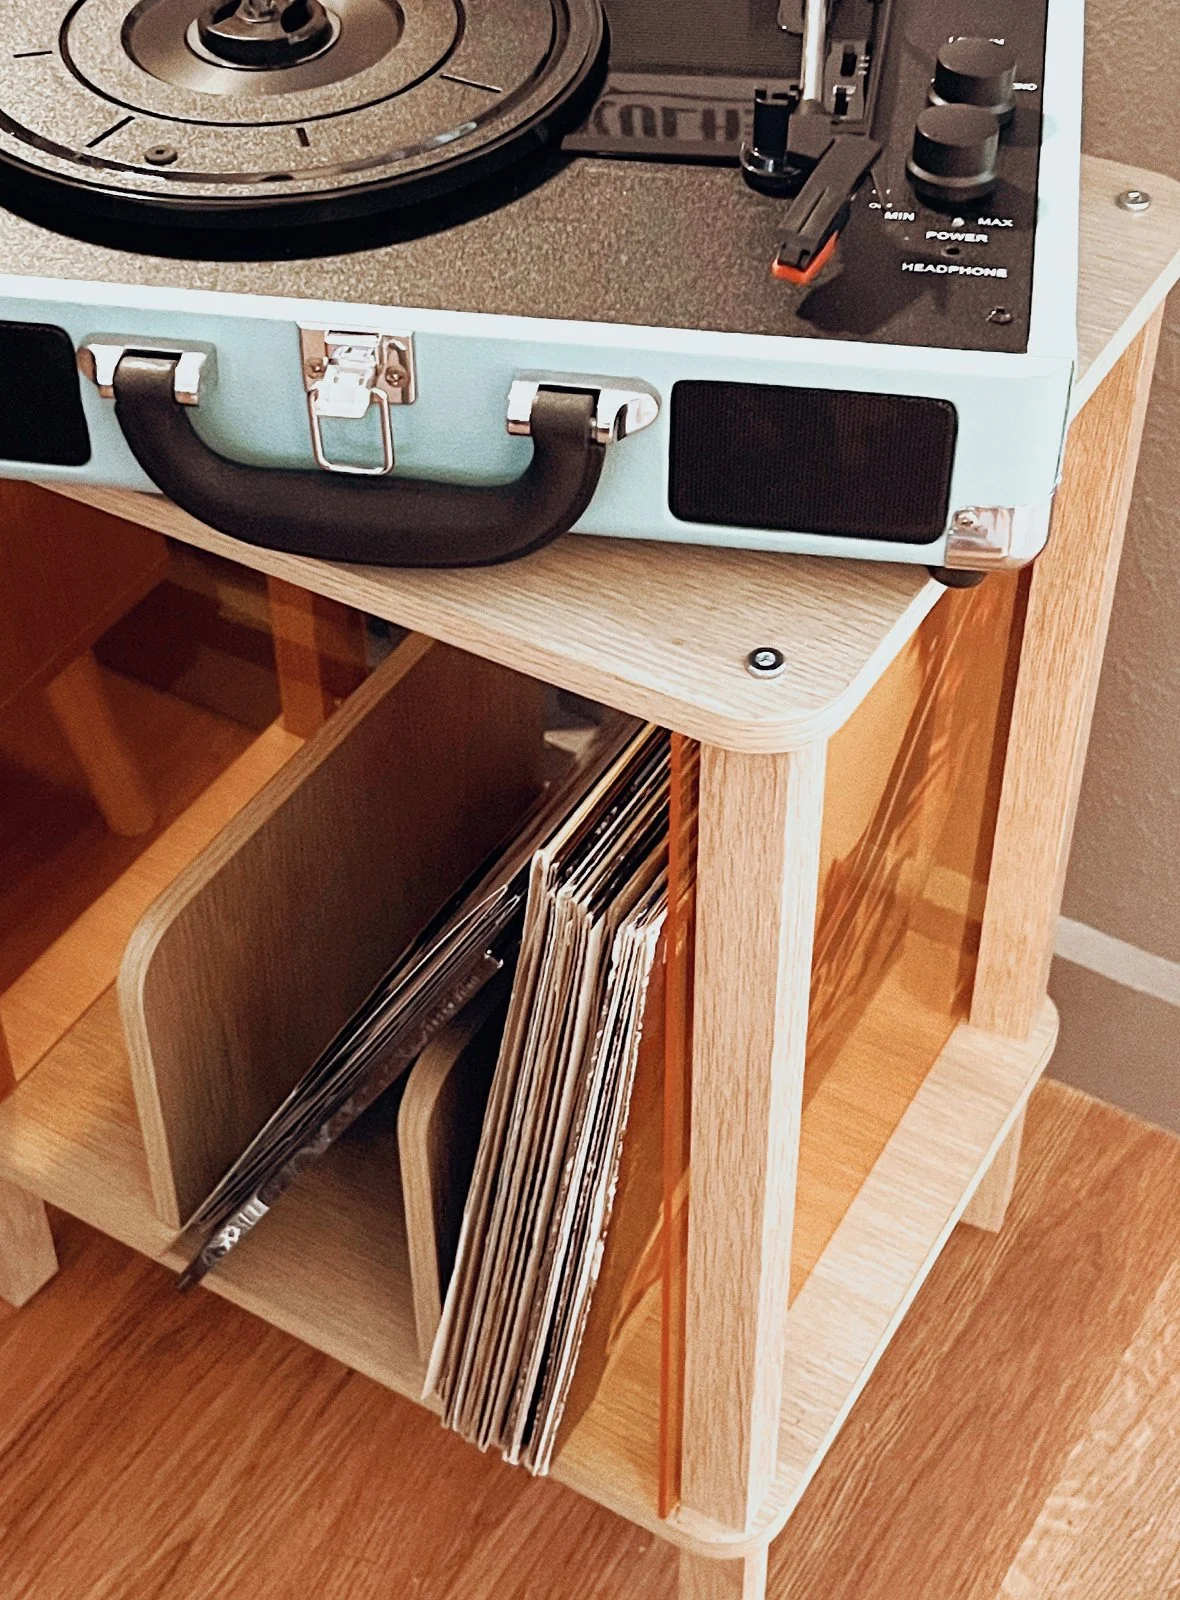
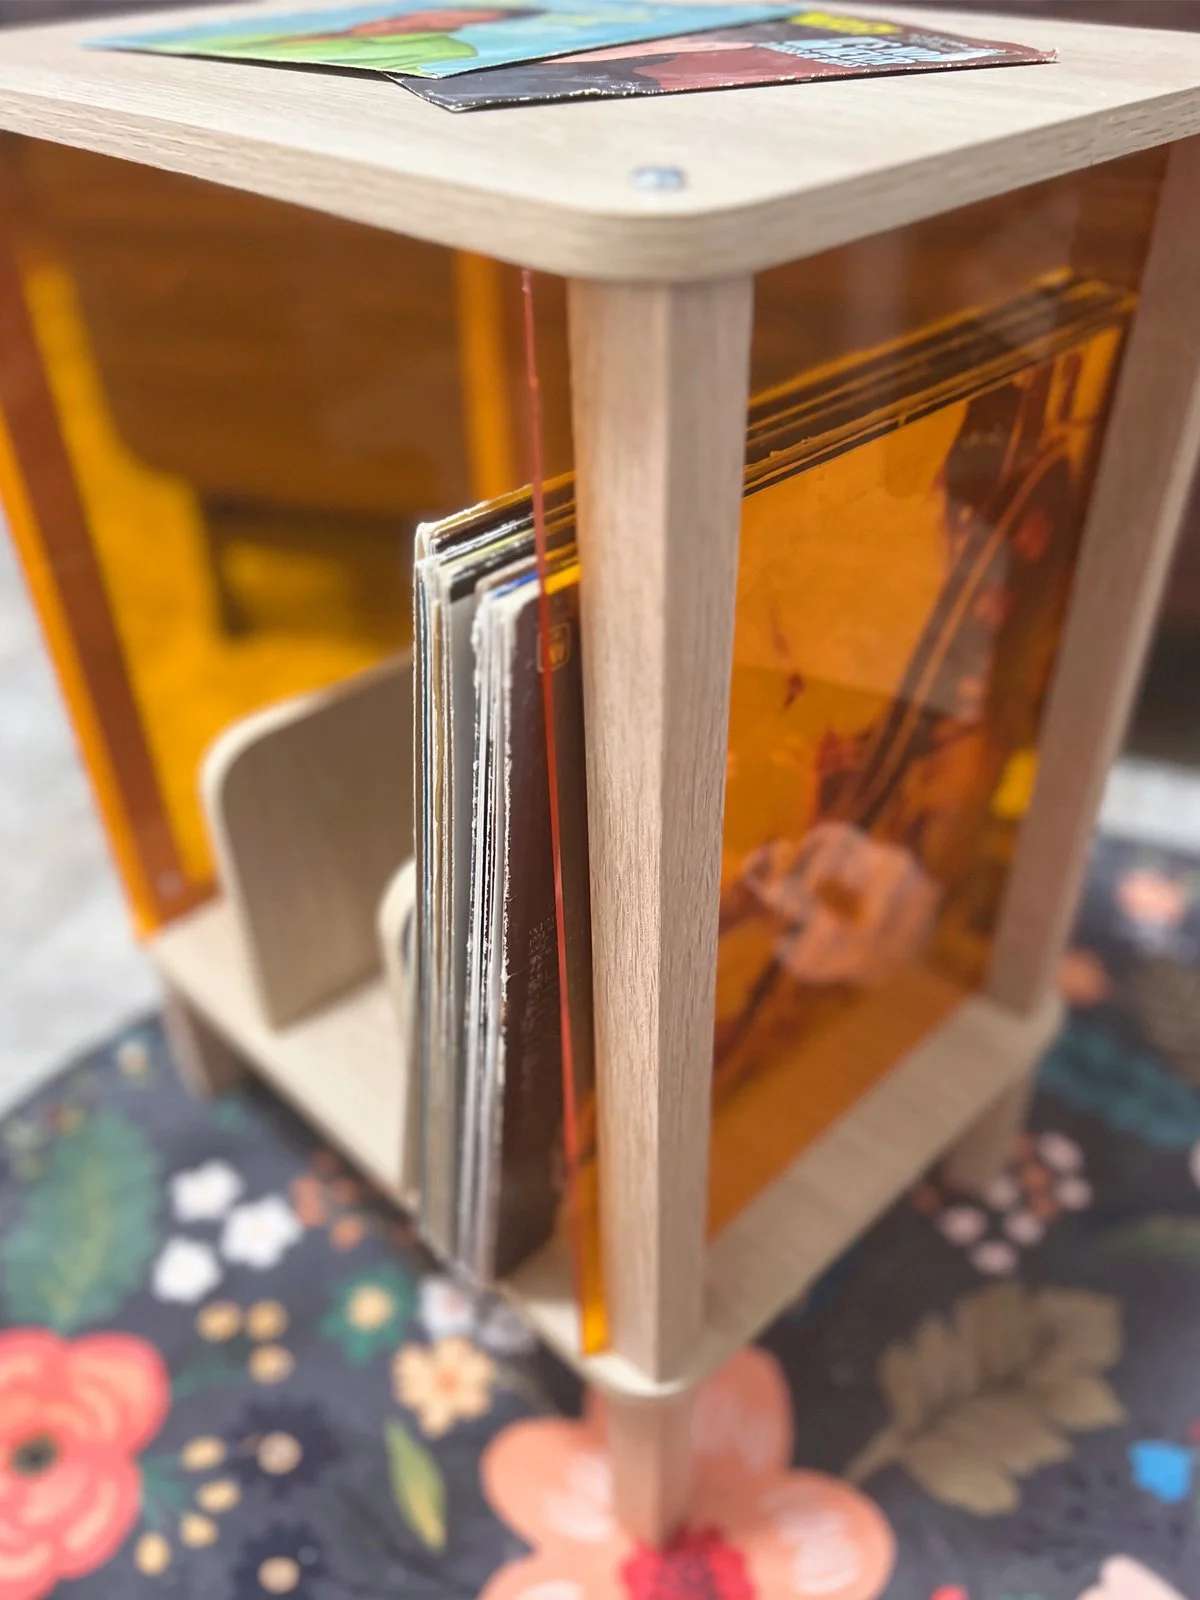
My record player feels retro enough on its own, but once I added the stand with those bold orange acrylic panels, it looked straight out of a mid-century living room.
Cocktail Suggestion Pumpkin White Russian: Coffee liqueur, vodka, cream, and a spoon of pumpkin spice syrup! kitschy and cozy.
Blog Index:
1. Spin Into Fall with Retro 60's Vibes
2. Why Makeover A Record Rack?
3. Supplies You’ll Need
4. Easy Step-by-Step Makeover Instructions
5. Style It for Fall - Retro Shopping
6. Closing Words
Spin Into Fall with Retro Vibes
Back in the 1950s and ’60s, records weren’t just music they were the centerpiece of a cozy evening at home.
Families and friends would gather around the hi-fi, sipping cocktails and flipping through vinyl sleeves like they were photo albums.
Start with a retro record player and DIY a stand and bring that same mid-century tradition into your own fall nights warm drinks and timeless tunes.
This blog contains affiliate links, which support the free content on this blog. As an Amazon Associates affiliate, I earn from qualifying purchases.
Why Makeover A Record Rack?
Because saving nearly $70 feels just as good as spinning your favorite vinyl.
A trendy acrylic record stand runs about $119 and up, but this DIY version cost only $50 and comes with all the retro charm for a fraction of the price.


Supplies You’ll Need:
Access to a Bandsaw (for trimming acrylic)
Note: If you don’t have access, use a thinner sheet of acrylic and score it instead.
Small Drill Bit + Drill
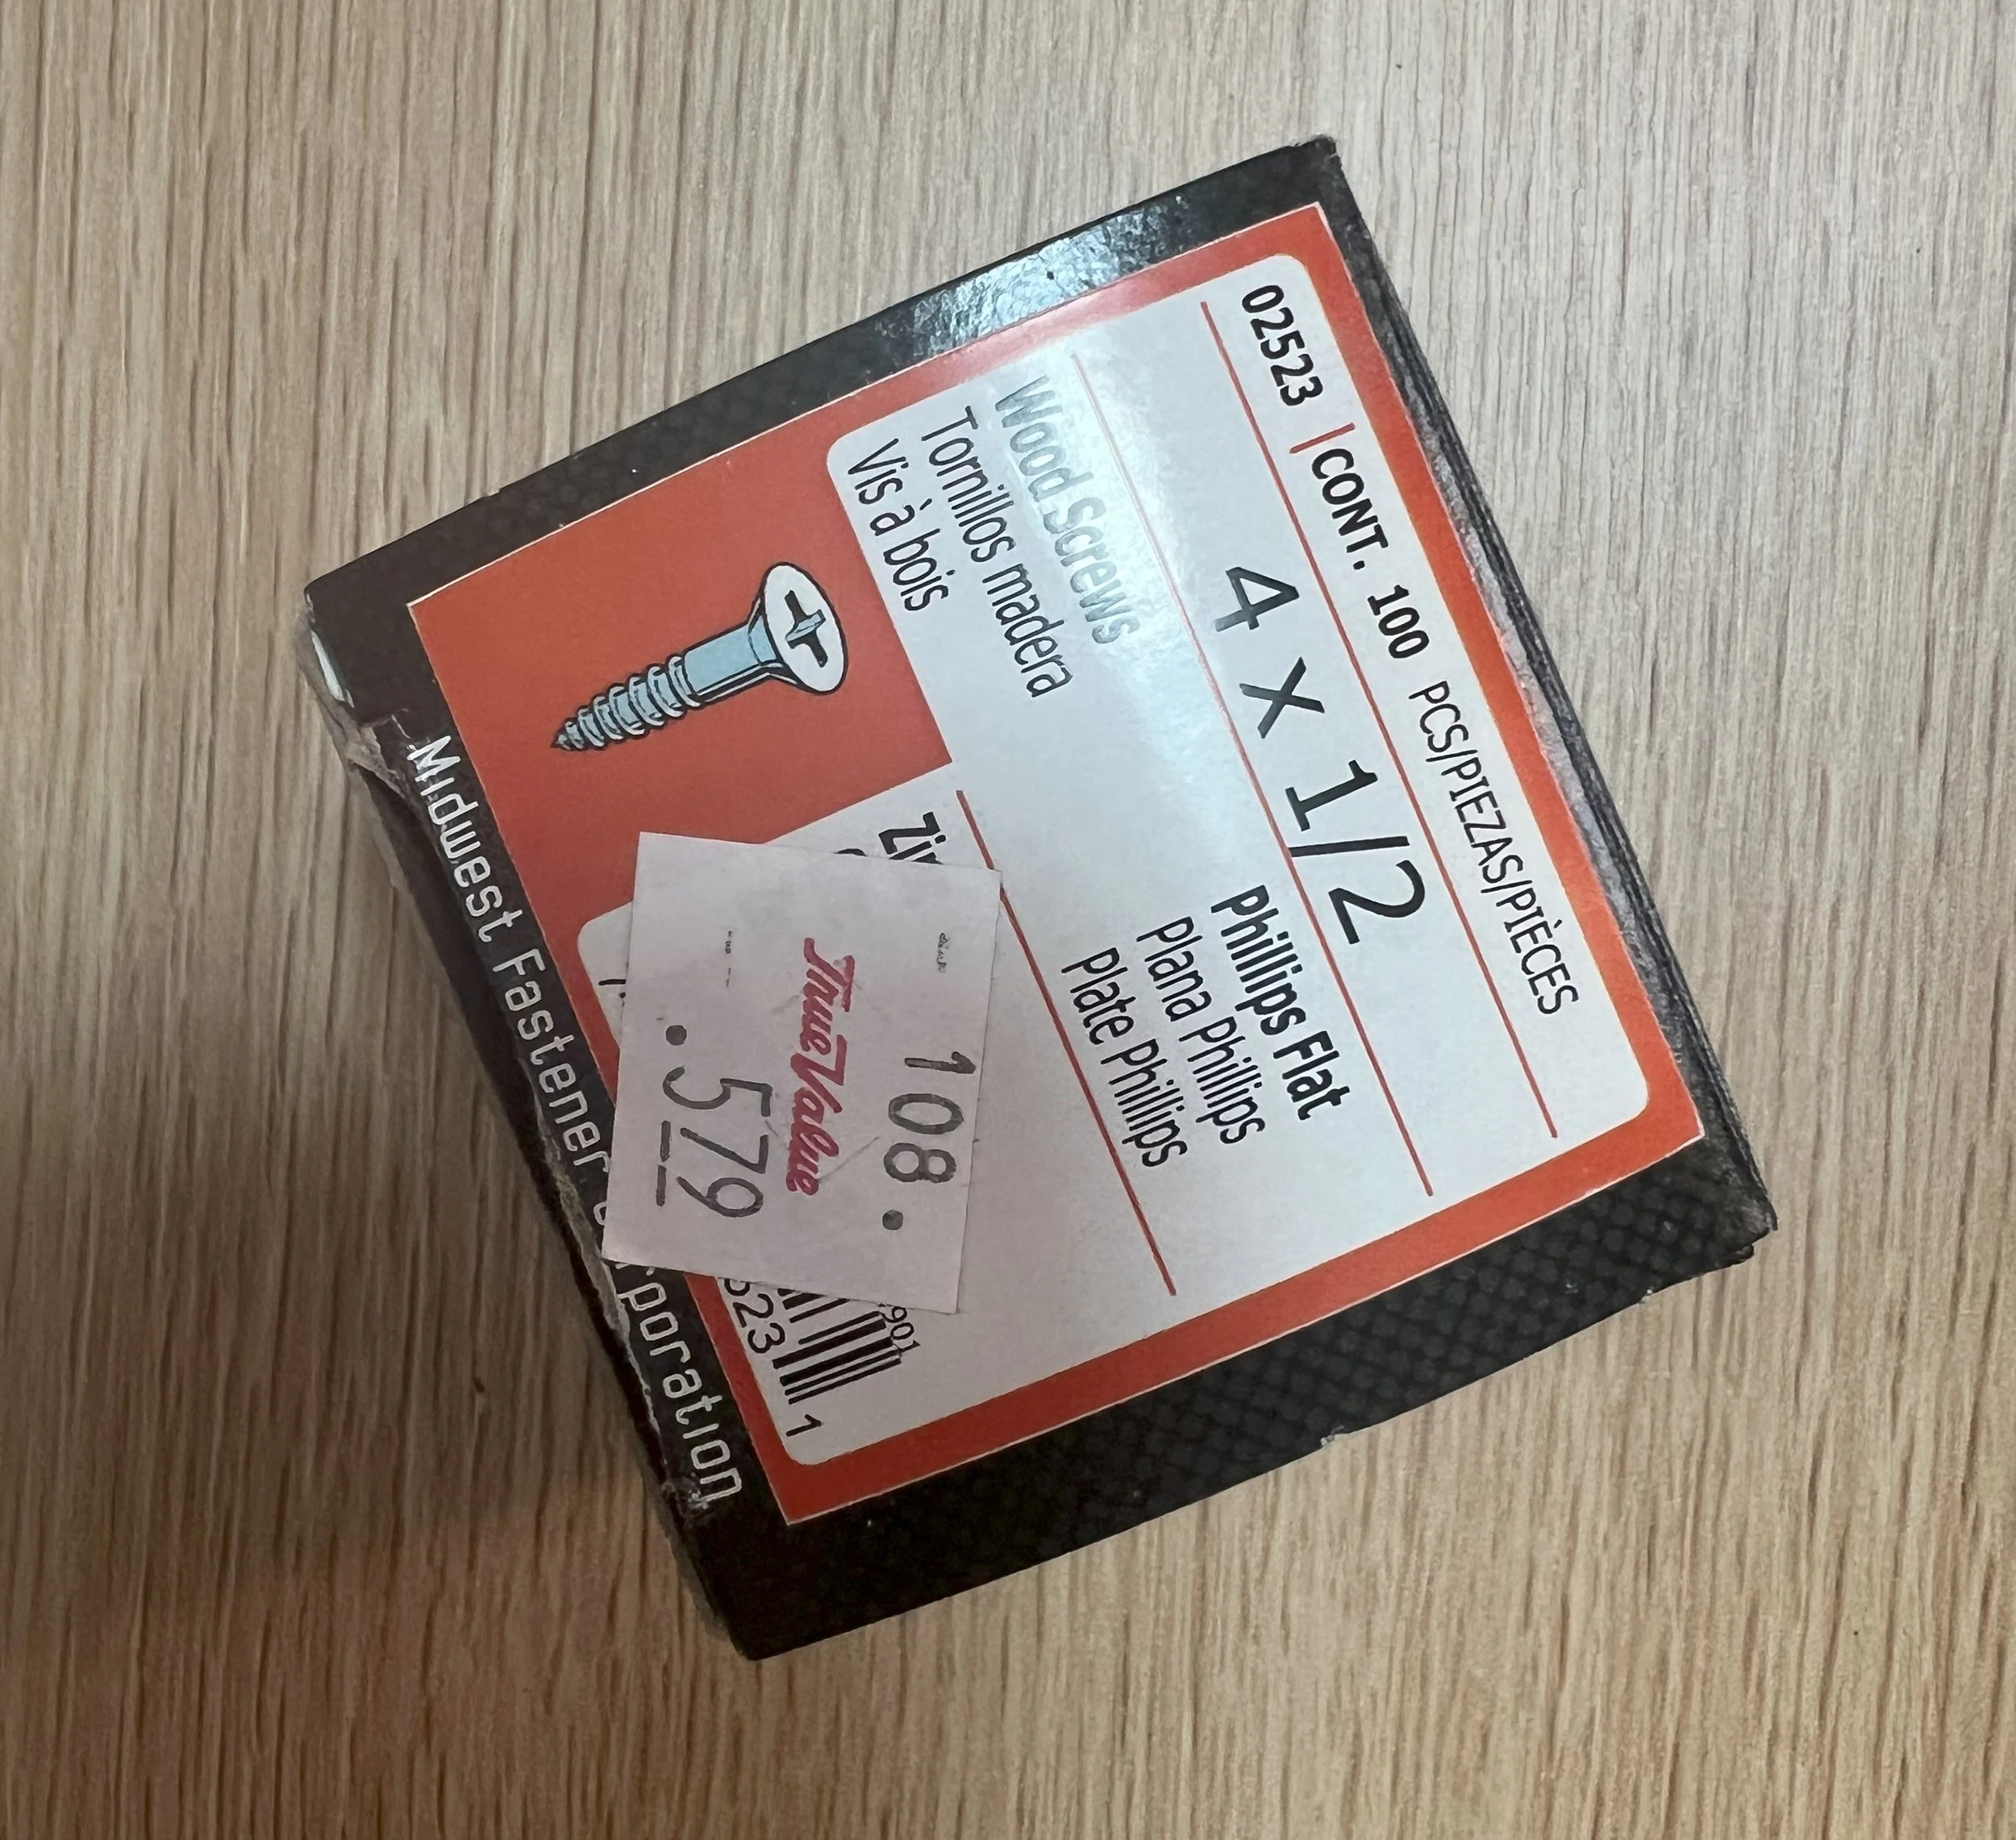
Screws


Easy Step-by-Step Makeover Instructions
Keep the Protective Film On
Leave the paper or plastic film on the acrylic sheets while cutting and drilling—this prevents scratches.Measure & Cut
Mark your acrylic to the correct size (1 1/4" at the top).
Use a bandsaw for clean, even cuts.
No bandsaw? Use a thinner sheet of acrylic and score/snap with a utility knife.
Pre-Drill the Holes
Use a small drill bit to make screw holes in each acrylic panel. Drilling slowly prevents cracks.Peel the Protective Film
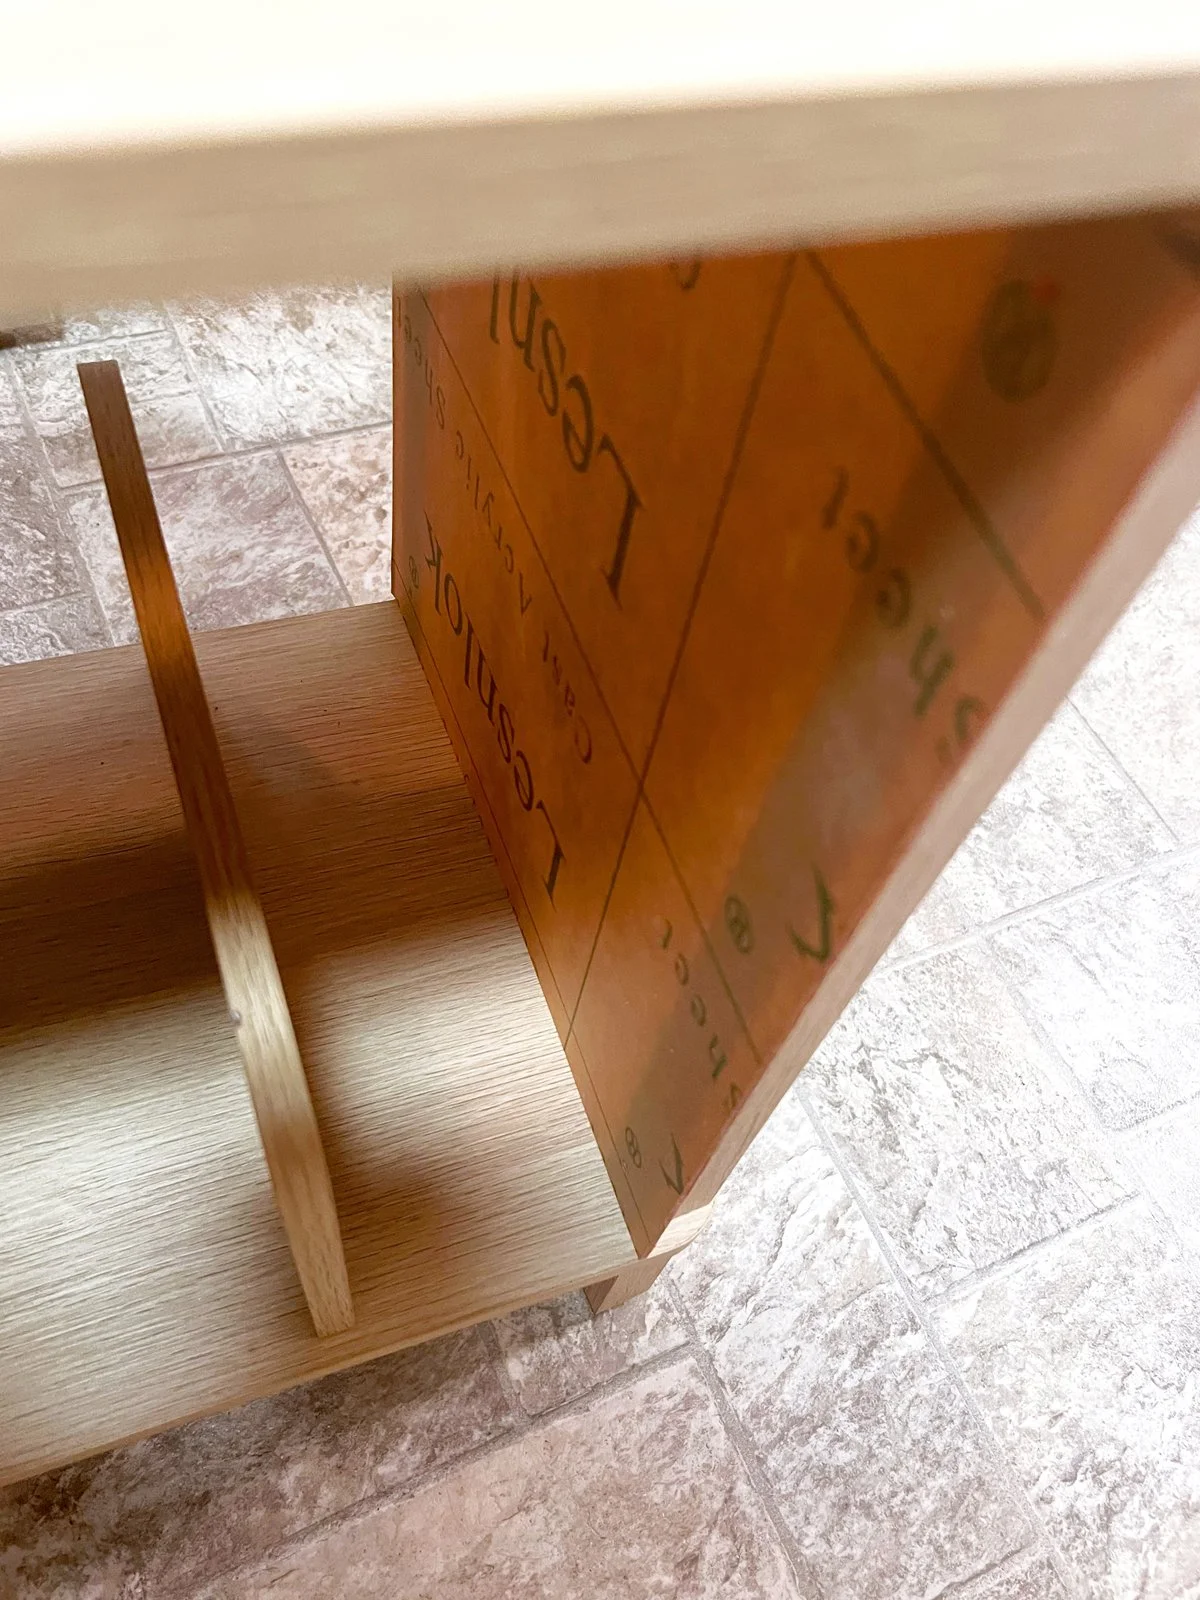
Once cut and drilled, remove the protective paper for a clean, glossy finish.Attach with Screws
Align your acrylic panels with the sides of the bamboo stand and secure them in place.
Note: I only trimmed the top of acrylic and not the sides
FAQs
Q: Do I need special tools to cut acrylic for this project?
A: Not necessarily! A bandsaw makes it quick, but you can also use a thinner sheet of acrylic and the score-and-snap method for clean cuts at home.
Q: Can I customize the acrylic color?
A: Absolutely. I used orange for that autumn glow, but acrylic comes in all sorts of colors teal, clear, frosted so you can match your own retro style.
Q: How much did this DIY cost?
A: About $50 including the record stand and acrylic sheets. Similar acrylic stands retail for $119 or more, so you’re saving nearly $70 with a DIY version.
Q: How many records does the stand hold?
A: This bamboo record stand holds up to 100 albums plenty of room for your fall listening sessions.
Style It for Fall - Retro Shopping


Closing words
With just a little DIY spirit, you’ve transformed a plain record rack into a retro piece made for autumn evenings.
Now all that’s left is to pour yourself a cozy cocktail, drop the needle on your favorite vinyl, and let the season spin on in true mid-century style.
I hope you’re enjoying these simple, easy retro DIYs as much as I love sharing them with you. - Shelly
If you make this, share your photo on Instagram and tag @vintagebythebite #VBTB so I can see it!
Still craving cozy? Don’t miss my Pumpkin Spice Dirty Soda it’s fall in a glass!

Shelly is a vintage recipe preservationist who shares 1940s–1960s recipes weekly on Vintage by the Bite. Also included are retro lifestyle DIYs